Mango Gugelhupf: A Delightful Homemade Bake
Homemade Gugelhupf Using Frozen Mango

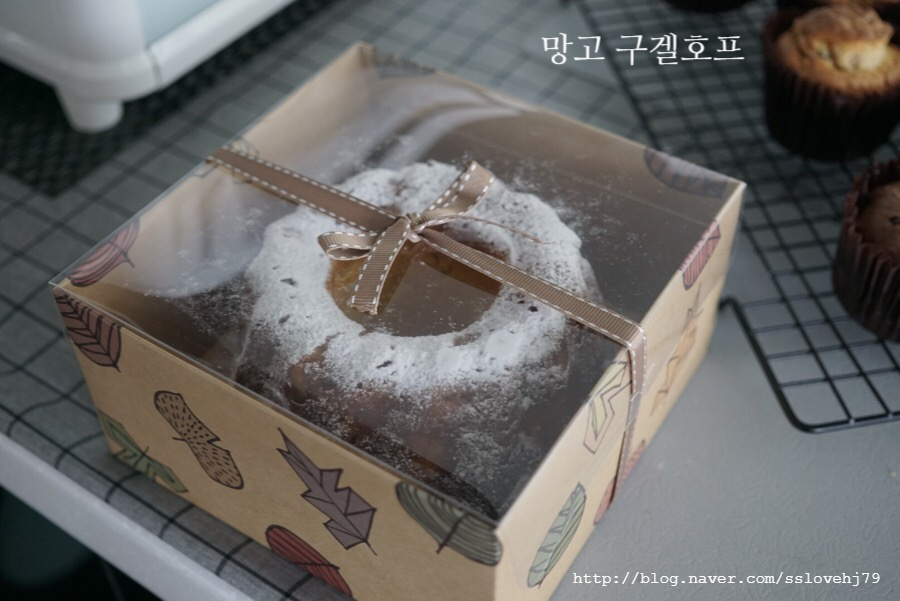
This recipe is a fantastic way to use up frozen mangoes, a summer fruit I absolutely adore! I decided to incorporate them into a Gugelhupf, and baking is the perfect solution for excess frozen fruit. This bread turned out so beautifully that I packaged it as a gift for my nephew’s 100th-day celebration, and it was a huge hit!
Gugelhupf Dough- 80g softened butter (room temperature)
- 80g granulated sugar
- 2 room temperature eggs
- 150g cake flour (or all-purpose flour)
- 5g baking powder
- 35g milk (room temperature)
- A pinch of powdered sugar for decoration
Cooked Mango Filling- 1 cup frozen mango chunks (like Ataulfo/Champagne mango)
- 1 tbsp heavy cream (or a little milk/butter)
Gugelhupf Pan Preparation- A little butter (for greasing the pan)
- 1 cup frozen mango chunks (like Ataulfo/Champagne mango)
- 1 tbsp heavy cream (or a little milk/butter)
Gugelhupf Pan Preparation- A little butter (for greasing the pan)
Cooking Instructions
Step 1
First, let’s prepare the cooked mango filling. Combine the frozen mango chunks with 1 tablespoon of heavy cream in a small saucepan. Cover the pan and cook over low heat. If you don’t have cream, you can use a little milk or butter, or even just cook the mangoes alone, mashing them slightly as they cook.

Step 2
Continue cooking until most of the liquid has evaporated and the mixture becomes slightly sticky. Remove from heat and let it cool completely. It’s important to cool the mango mixture before adding it to the batter, so it doesn’t melt the butter.

Step 3
Now, let’s make the Gugelhupf batter. In a mixing bowl, cream the softened butter (ensure it’s at room temperature) using a whisk or electric mixer until it’s light and fluffy. This process incorporates air, which will help make your cake tender.

Step 4
Gradually add the sugar, about 2-3 tablespoons at a time, while continuing to whisk. Beat until the mixture is pale and creamy, and the sugar is fully incorporated. This step is crucial for a tender crumb and prevents the cake from becoming tough.

Step 5
Add the room temperature eggs one at a time, beating well after each addition until fully combined. If the mixture looks like it’s curdling, try placing the bowl over a bain-marie (a bowl set over simmering water) and whisking until it comes together smoothly.

Step 6
If you have vanilla extract, add about half a teaspoon now. Vanilla enhances the flavors and helps to mask any eggy smell.

Step 7
Gently fold the cooled cooked mango mixture into the batter using a spatula. Mix until just combined, ensuring the delicious mango flavor and color are evenly distributed.

Step 8
Sift the cake flour and baking powder together into a separate bowl. Sift them again directly over the batter. Sifting twice ensures no lumps and results in a lighter texture.

Step 9
Add the room temperature milk (35g) to the batter. Using a spatula, gently mix until you no longer see any dry flour streaks. Be careful not to overmix at this stage, as it can develop gluten and make the cake tough. Mix just until the ingredients are combined to form the finished batter.

Step 10
Generously grease your Gugelhupf pan with butter. Ensure all the nooks and crannies are coated. You can also lightly dust with flour after greasing for extra insurance against sticking. This step is vital for easy demolding.

Step 11
Pour the batter into the prepared Gugelhupf pan. While you can spoon it in, using a piping bag will allow you to fill the pan more evenly and neatly. Once the batter is in the pan, gently tap the pan on the counter a few times to release any large air bubbles.

Step 12
Bake in a preheated oven at 180°C (350°F) for 20-25 minutes, reducing the temperature to 170-175°C (340-345°F) after placing the cake inside. If the top starts to brown too quickly, you can loosely tent it with aluminum foil. The cake is done when a skewer inserted into the center comes out clean.

Step 13
Once the Gugelhupf has cooled completely, dust it generously with powdered sugar using a sieve for a beautiful finish. You can also add additional decorations like icing or fresh fruit if desired.


