Marinated Perilla Leaves: A Homemade Rice-Stealing Side Dish
How to Make Pickled Perilla Leaves at Home

I was craving the chewy and deeply savory flavor of pickled perilla leaves, and instead of buying them, I decided to try making them myself! This recipe is simple with just a few ingredients and results in a side dish so delicious it’ll make you finish your rice bowl in no time. It’s a true ‘rice thief’!
Pickling Ingredients- 16 bundles of perilla leaves
- 16 cups of water
- 2 cups of coarse sea salt
- 2 cups of soju (Korean rice wine)
Cooking Instructions
Step 1
First, let’s prepare the perilla leaves. I bought 16 bundles, as they were being sold at 4 bundles for 1,000 won, costing me 4,000 won in total. Choose fresh-looking perilla leaves.

Step 2
This step is about washing the perilla leaves. Honestly, for making pickled perilla leaves, washing them isn’t strictly necessary. Since we’ll be soaking them again later after they’ve pickled to remove any impurities, you can decide whether to wash them based on your preference.

Step 3
Whether you’ve washed them or not, place the perilla leaves on a colander to drain thoroughly. Any remaining moisture can affect the final flavor, so make sure to remove it carefully.

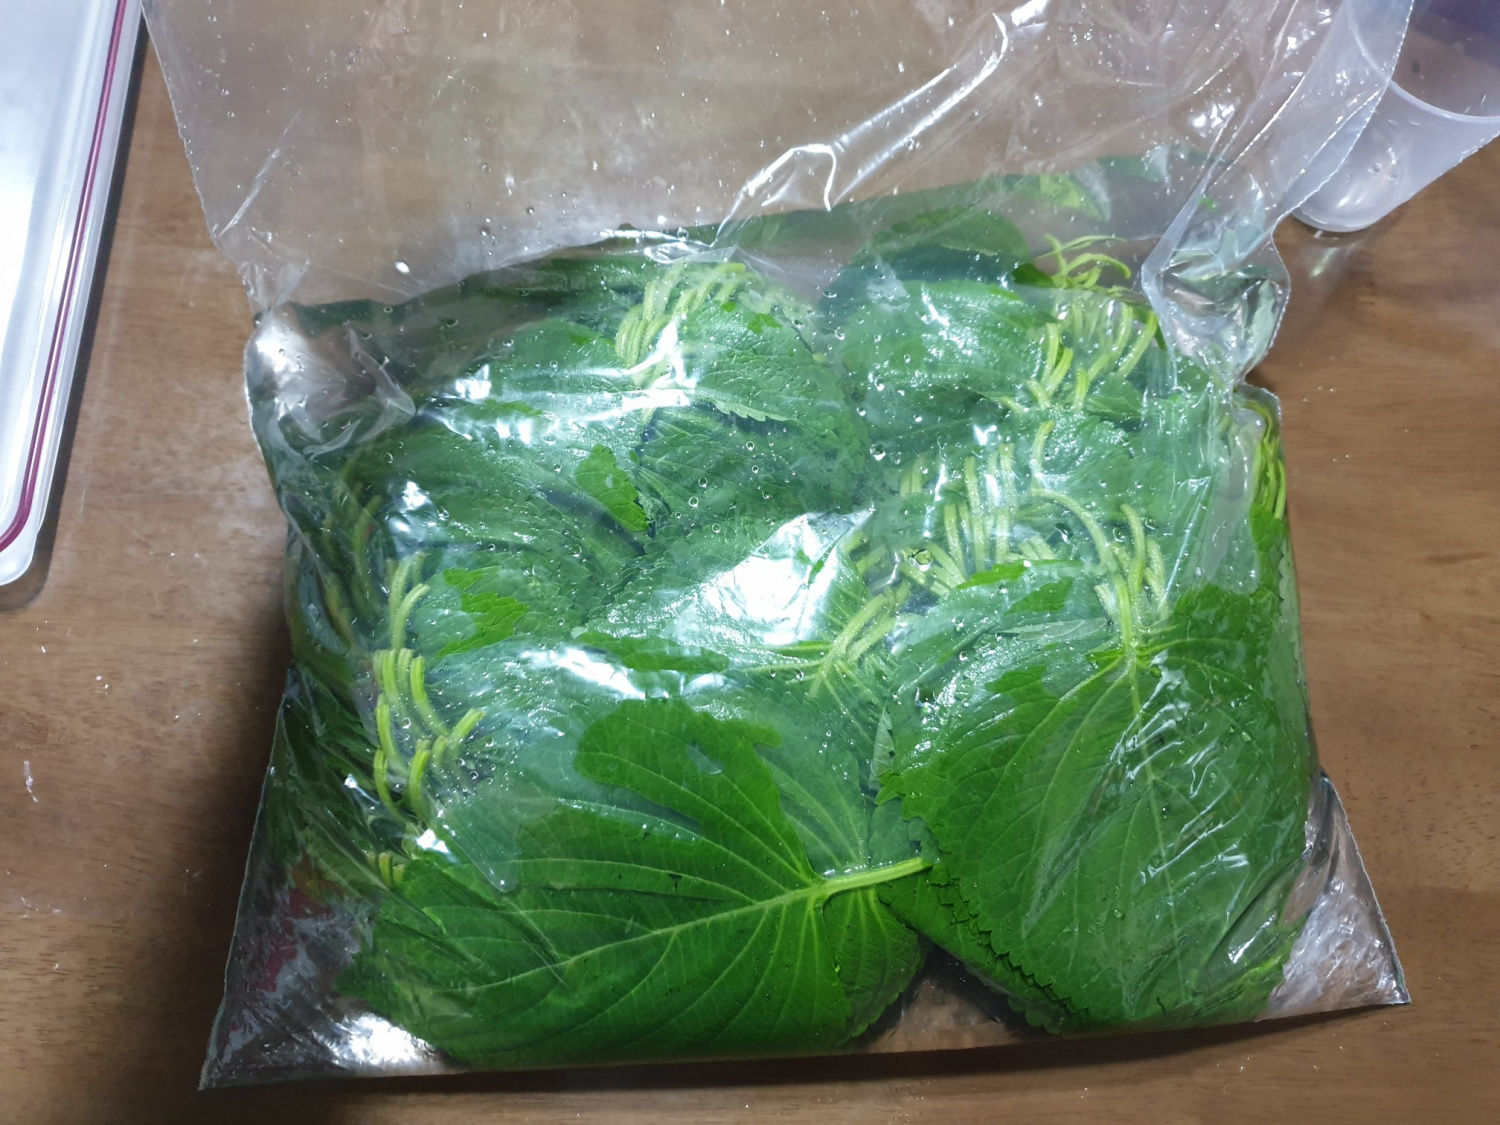
Step 4
Prepare your container for pickling. A container with a weight press (a tool to keep things submerged) is ideal, but if you don’t have one, a resealable zip-top bag works perfectly fine. Place all 16 bundles of perilla leaves snugly into the zip-top bag.

Step 5
Now, let’s make the brine for pickling the perilla leaves. First, measure out 16 cups of water.

Step 6
Add 2 cups of coarse sea salt to the measured water and stir well until the salt is completely dissolved. It’s important to dissolve it completely without any lumps.

Step 7
Once the salt is fully dissolved, add 2 cups of soju to the brine. The soju is added to prevent mold (called ‘golmaji’ in Korean) from forming on the surface of the perilla leaves during the pickling process. It can also add a subtle flavor to the fresh perilla.

Step 8
Here is the completed brine, ready for making delicious pickled perilla leaves. Make sure it looks clear and clean.

Step 9
Pour the prepared brine over the perilla leaves in the zip-top bag. Ensure the leaves are fully submerged in the brine. Then, press out as much air as possible from the bag before sealing it tightly. Air trapped inside can prevent the perilla leaves from pickling properly.

Step 10
If you are using a container instead of a zip-top bag, place the perilla leaves inside, pour the brine over them, and then use the weight press to keep them down. It’s crucial that the perilla leaves do not float to the surface.

Step 11
Now for the pickling process. First, let the container sit at room temperature for about 3 weeks. After that, transfer it to the refrigerator and let it pickle for another 3 weeks. Your delicious pickled perilla leaves will be ready after a total waiting period of 6 weeks. It’s best to leave them undisturbed during the entire pickling time. Enjoy your flavorful perilla leaf side dish after 6 weeks of pickling and seasoning!


