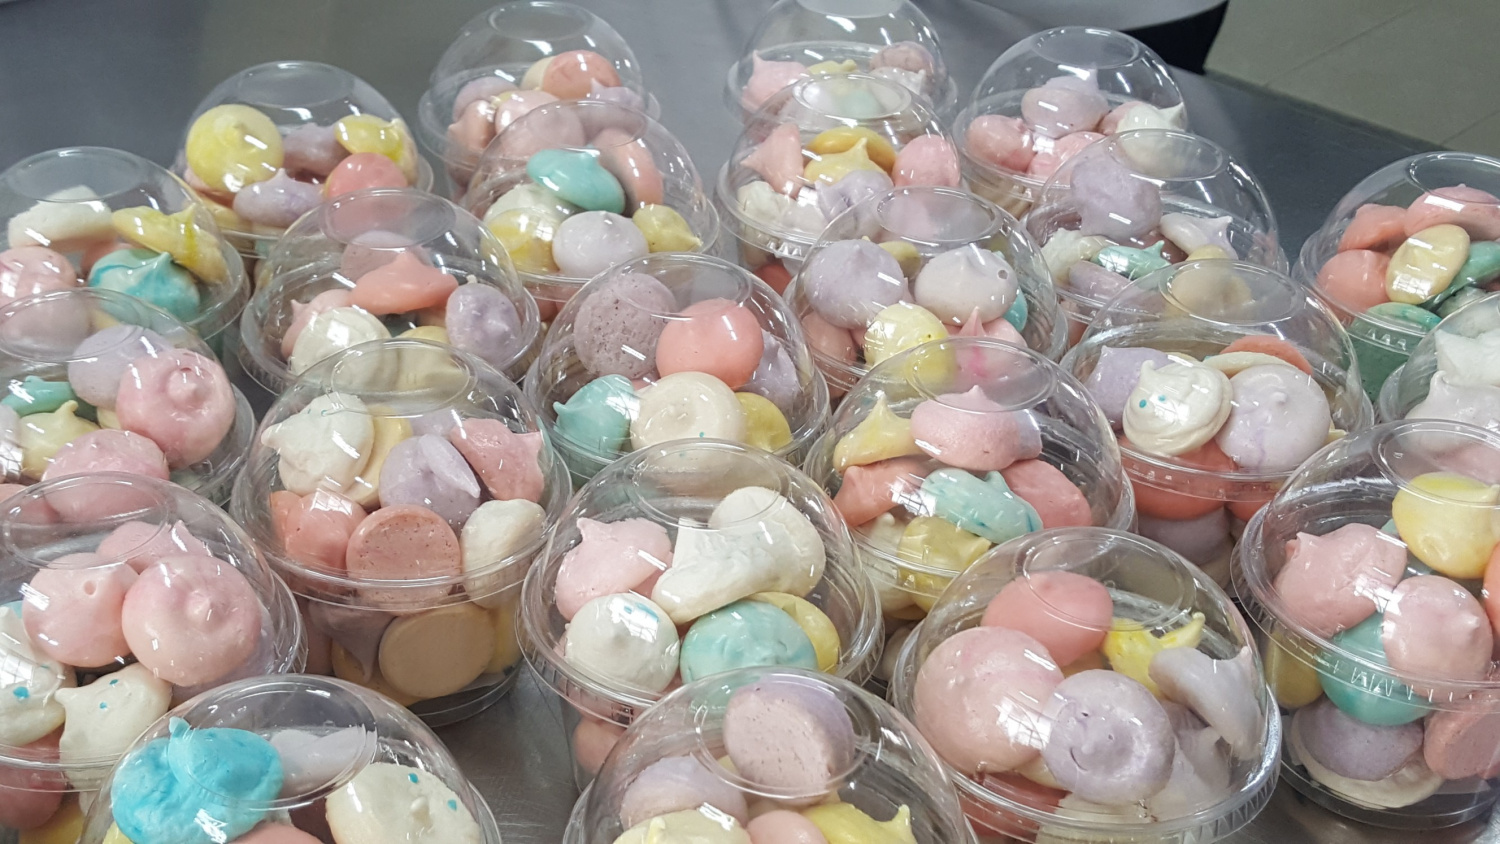
Meringue Cookies: Melt-in-Your-Mouth Cotton Candy Delights
Sweetness in Every Bite! Cotton Candy Meringue Cookie Recipe

Whip up these meringue cookies that are as light and fluffy as cotton candy! They’re wonderfully sweet, perfect with a warm cup of americano, and a huge hit with kids. Experience a delightful sweetness that simply dissolves on your tongue. They look as beautiful as they taste!
Meringue Cookie Ingredients- 100g egg whites (use fresh whites for best results)
- 100g granulated sugar (equal weight to egg whites)
- A few drops of lemon juice (helps stabilize the meringue)
- A little food coloring (choose your favorite colors)
Cooking Instructions
Step 1
I’m making a larger batch today, about 6 times the base recipe. First, accurately measure out your egg whites and sugar. Precise measurements are key to successfully making delicious meringue cookies.

Step 2
Place the egg whites in a clean bowl and begin whipping them with an electric mixer. It’s important to whip the whites sufficiently on their own first. (Please excuse the appearance of the whisk; it’s from my second batch and doesn’t look brand new!)

Step 3
Once the egg whites start to foam, gradually add the sugar in 2 to 3 additions while continuing to whip. Adding all the sugar at once can prevent the meringue from becoming stiff, so be mindful of this.

Step 4
Whip until stiff peaks form – when you lift the whisk, the peak should hold its shape with a slight curl at the tip. Over-whipping can make them difficult to pipe, so aim for a firm but pliable meringue.

Step 5
Add your desired food coloring to the completed meringue and gently fold it in. Mix just until the color is incorporated to avoid deflating the meringue.

Step 6
Fit a piping bag with a 1cm round tip and fill it with the meringue. Line your baking sheets with parchment paper and pipe the meringue into your desired shapes. You can create small dots, swirls, or even fun characters!

Step 7
For this particular cookie, I used purple food coloring to achieve a soft and elegant hue.

Step 8
The vibrant blue food coloring adds a refreshing touch. These colorful meringue cookies are a feast for the eyes as well as the palate.

Step 9
Here’s a fun idea for personalizing your meringue cookies! You can pipe a base shape and then add smaller piped dots to create eyes, turning them into cute little characters.

Step 10
The bright red food coloring surprisingly produced a beautiful, rich color. Feel free to mix and match different colors for unique creations.

Step 11
Bake in a preheated oven at 100°C (212°F) for both the top and bottom elements for about 1 hour to 1 hour 20 minutes. This low and slow drying process ensures a crisp texture.

Step 12
Voila! Freshly baked meringue cookies, looking absolutely delightful. They’ve puffed up beautifully and are wonderfully charming.

Step 13
Their colorful appearance is reminiscent of cotton candy – sweet, fluffy, and incredibly inviting. Just looking at them brings a smile!

Step 14
Meringue cookies are sensitive to moisture, so be sure to place a desiccant pack at the bottom of your airtight container. Mixing various colors and packaging them prettily makes for a truly special gift that’s sure to delight the recipient.


