Moist and Soft Milk Bread
Rich Milk! Moist and Soft Milk Bread Recipe Made Two Ways

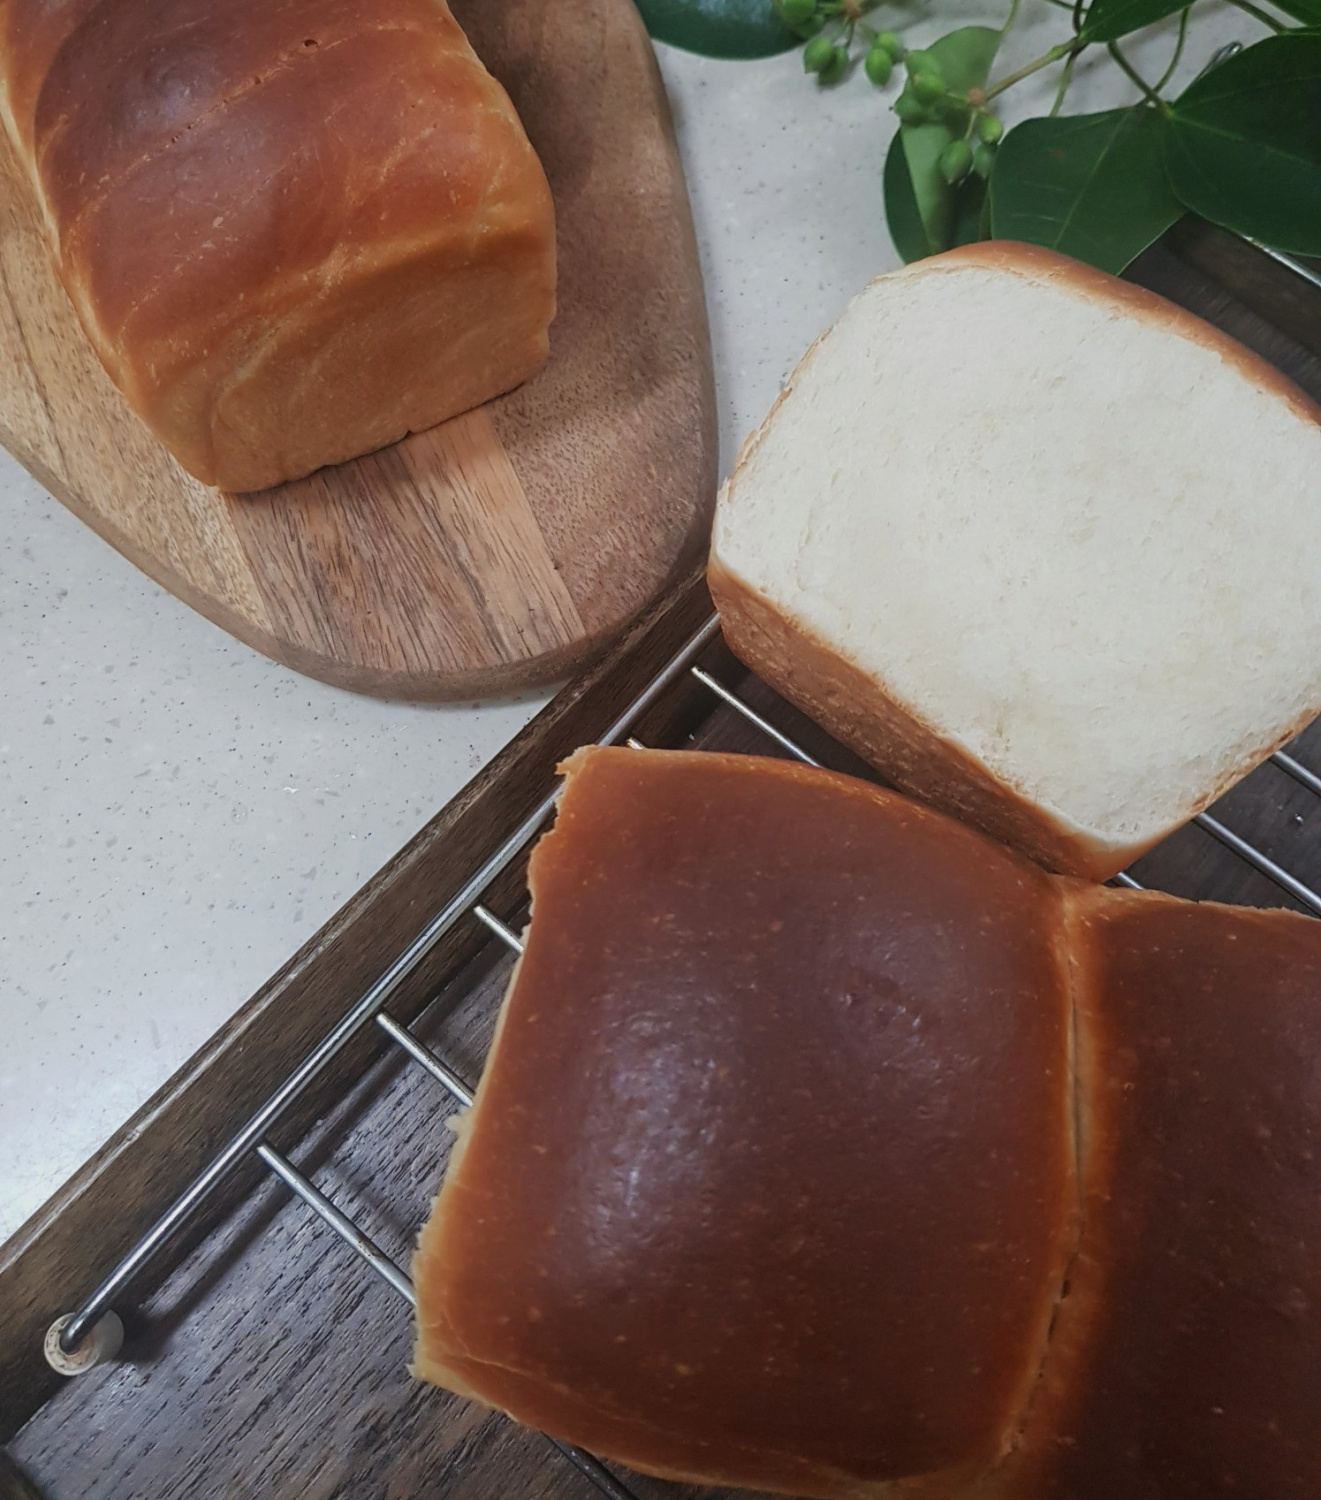
Introducing a milk bread made with plenty of fresh milk, making it extra moist and soft. It’s delicious on its own when warm, or fantastic with sweet jam! It’s also perfect for making sandwiches. Today, I’ll share a special milk bread recipe with two fun shaping methods. (This recipe makes 1 loaf.)
Ingredients- 250g Bread Flour
- 5g Active Dry Yeast
- 5g Salt
- 25g Sugar
- 150g Warm Milk
- 25g Butter, softened at room temperature
Cooking Instructions
Step 1
First, prepare your ingredients for the dough. In the mixing bowl of your stand mixer, add 250g of bread flour. Measure out 5g of salt, 25g of sugar, and 5g of active dry yeast, and place them in separate spots in the bowl, ensuring they don’t directly touch each other. This helps maximize the yeast’s leavening power.

Step 2
After adding the yeast, salt, and sugar, gently cover the top with the bread flour. This prevents the ingredients from mixing too early and makes the subsequent kneading process smoother.

Step 3
Warm 150g of milk in the microwave for about 30 seconds until it’s lukewarm. It should feel warm to the touch, like body temperature, not hot. Pour this warmed milk over the dry ingredients and begin mixing with your stand mixer on low speed (speed 1) until everything just comes together into a single mass. If you’re kneading by hand, continue to mix until a cohesive dough forms.

Step 4
Once the dough has formed into a mass, add 25g of softened butter (left at room temperature). Increase the mixer speed to medium-high and knead for 10 to 15 minutes. It’s crucial to knead diligently until the butter is fully incorporated and the dough becomes smooth. If kneading by hand, this process will take approximately 20 to 25 minutes of consistent effort.

Step 5
To check if the dough is ready, take a small piece and gently stretch it. If you can stretch it thin enough to see light through it without tearing, forming a translucent ‘windowpane’ of dough, then it’s perfectly kneaded. This gluten development is key to the bread’s soft texture.

Step 6
Shape the dough into a ball and place it in a lightly oiled bowl. Cover the bowl with a damp cloth. You can place the bowl over a larger bowl filled with warm water, or put it inside a turned-off microwave with a cup of warm water. Let the dough undergo its first proof (bulk fermentation) in a warm place for about 1 hour to 1 hour and 20 minutes, or until it has doubled in size. Creating a consistently warm environment is essential for good fermentation.

Step 7
Check if the first proof was successful. The dough should have increased in size by at least double, and when you gently poke it with a floured finger, the indentation should remain. This indicates the yeast has done its job. Now it’s time to divide the dough.

Step 8
A good sign of proper gluten development and fermentation is the ‘windowpane’ test, where the dough stretches very thin without breaking, showing a web-like structure. You can verify this at this stage.

Step 9
Divide the dough into 3 equal portions, each weighing approximately 180g. (If you’re doubling the recipe, you’ll divide it into 6 portions.) Aim for consistent weights so your loaves bake evenly.

Step 10
Gently shape each dough portion into a ball by tucking the edges underneath. Cover the dough balls with a damp cloth and let them rest for 20 minutes at room temperature. This resting period, called ‘bench rest,’ allows the gluten to relax, making the dough easier to shape in the next steps.

Step 11
After the bench rest, the dough portions will be slightly puffed up. They are now ready for shaping.

Step 12
Lightly flour your work surface and place one dough ball on it. Using a rolling pin, gently flatten the dough into an oval shape, about 20cm by 20cm. Be careful not to roll it too thin.

Step 13
Flip the flattened dough over so the smooth side is facing up.

Step 14
Fold one-third of the dough down towards the center and press firmly to seal. Ensure the fold is well-pressed to prevent it from opening during baking.

Step 15
Now, fold the opposite third of the dough up, overlapping the first fold, and press firmly again. This three-fold technique creates a lovely layered texture in the finished bread.

Step 16
Roll the dough up tightly, like a Swiss roll or sushi. Pinch and seal the edges as you roll to maintain a compact shape. Finally, pinch the very end seam to secure the roll.

Step 17
Place the rolled dough seam-side down. This will help the loaf maintain its shape as it bakes.

Step 18
Place the shaped dough into your prepared loaf pan. Gently press down on the dough to ensure it sits snugly at the bottom of the pan. This encourages even rising within the pan.

Step 19
Here’s the second shaping method. Flatten the dough ball into an oval. Then, about 2cm from one end, make even, parallel cuts across the width of the dough, like making fringe. Do not cut all the way through the dough.

Step 20
Gently twist the cut sections to create a braided or ‘rope’ effect. This adds a unique visual appeal to the bread.

Step 21
Starting from the uncut end, roll the dough up tightly, incorporating the twisted sections. Pinch the final seam to seal it, and place the roll seam-side down.

Step 22
Repeat this process for two more dough portions, creating a total of three shaped loaves. Place them all into the loaf pan(s). Along with the first shaped loaf (from step 18), allow these loaves to undergo their second proof (final proof) in a warm place for about 1 hour, or until they have doubled in size. Proper second proofing is crucial for a light and airy crumb.

Step 23
Once the second proof is complete and the dough has risen nicely, lightly brush the top surface with milk. This will give the crust a beautiful golden sheen and a softer texture.

Step 24
Preheat your oven to 180°C (350°F). Place the loaf pan on a baking sheet and bake for 30 to 35 minutes. To ensure even browning, rotate the pan halfway through the baking time. If the top starts browning too quickly, you can loosely tent it with aluminum foil.

Step 25
Once the bread is beautifully golden brown, remove it from the oven. Immediately take it out of the pan and let it cool completely on a wire rack. While delicious warm, allowing it to cool fully enhances its flavor and texture. Your wonderful homemade milk bread is now ready to enjoy!


