Neat and Convenient Butter Storage Method
Storing and Using Butter Smartly

Instead of just cutting butter as needed, storing it neatly cut makes cooking and baking much more convenient and hygienic. Here are some tips for butter lovers!
Ingredients- 1 block of butter (cubed or rectangular shape)
Cooking Instructions
Step 1
Leaving a block of butter in the refrigerator and cutting it with a knife each time you need it can lead to crumbled pieces or be cumbersome. So today, I’ll show you a way to individually wrap it for easy use.

Step 2
First, cut the butter into your desired portion sizes. Cutting it into 10g or 20g increments, often used in baking, makes measuring convenient. You can also cut it into portions suitable for spreading on sandwiches or toast. For a standard 100g butter block, I recommend cutting it into 10 equal pieces.

Step 3
Next, we’ll use parchment paper. Cut it into appropriate sizes for wrapping the butter pieces. Cutting the parchment paper to about 10cm x 10cm squares, depending on the size of your butter pieces, will make individual wrapping easier.

Step 4
Now, place each cut butter piece on a piece of parchment paper and wrap it tightly by gathering the ends, like a piece of candy. This way, each butter piece is neatly individually wrapped, preventing them from sticking together or losing their shape.

Step 5
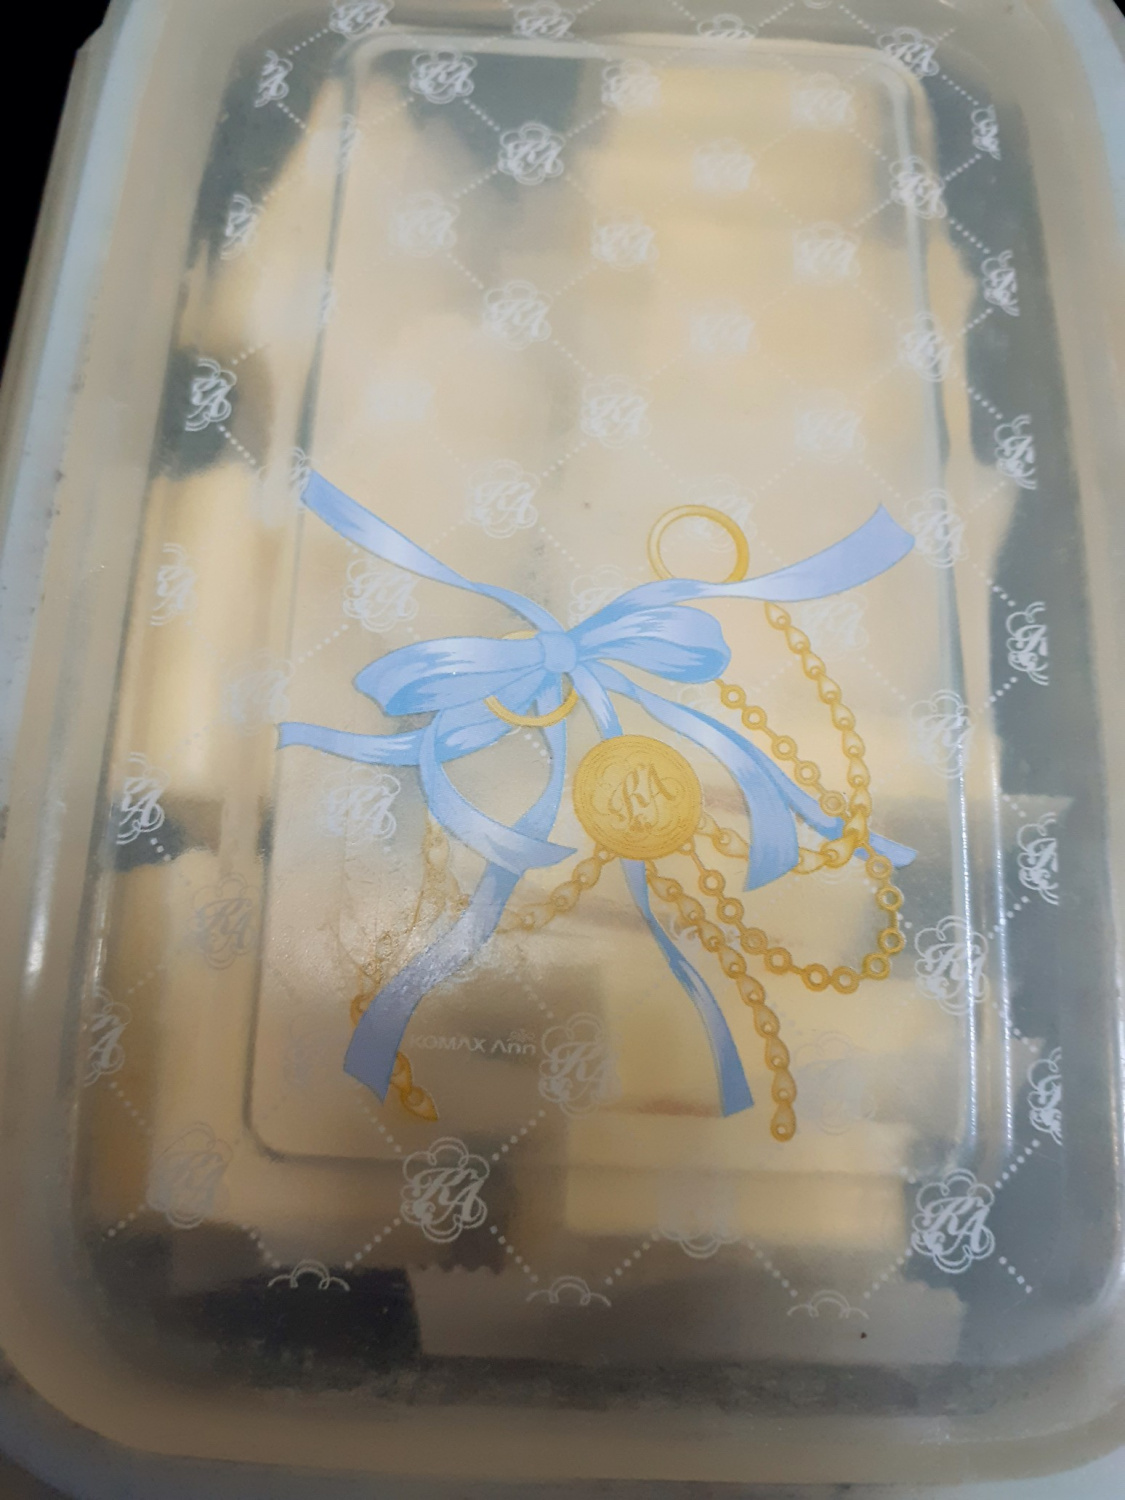
Once all the butter pieces are wrapped in parchment paper, place them into an airtight container. Storing them in an airtight container in the refrigerator prevents the butter from absorbing unpleasant odors and helps maintain its freshness for longer.

Step 6
Butter stored this way, portioned in advance, is incredibly convenient because you can easily take out just the amount you need for cooking or baking. Whether you’re spreading it on bread, making cookies, or baking a cake, enjoy your butter neatly without any hassle!


