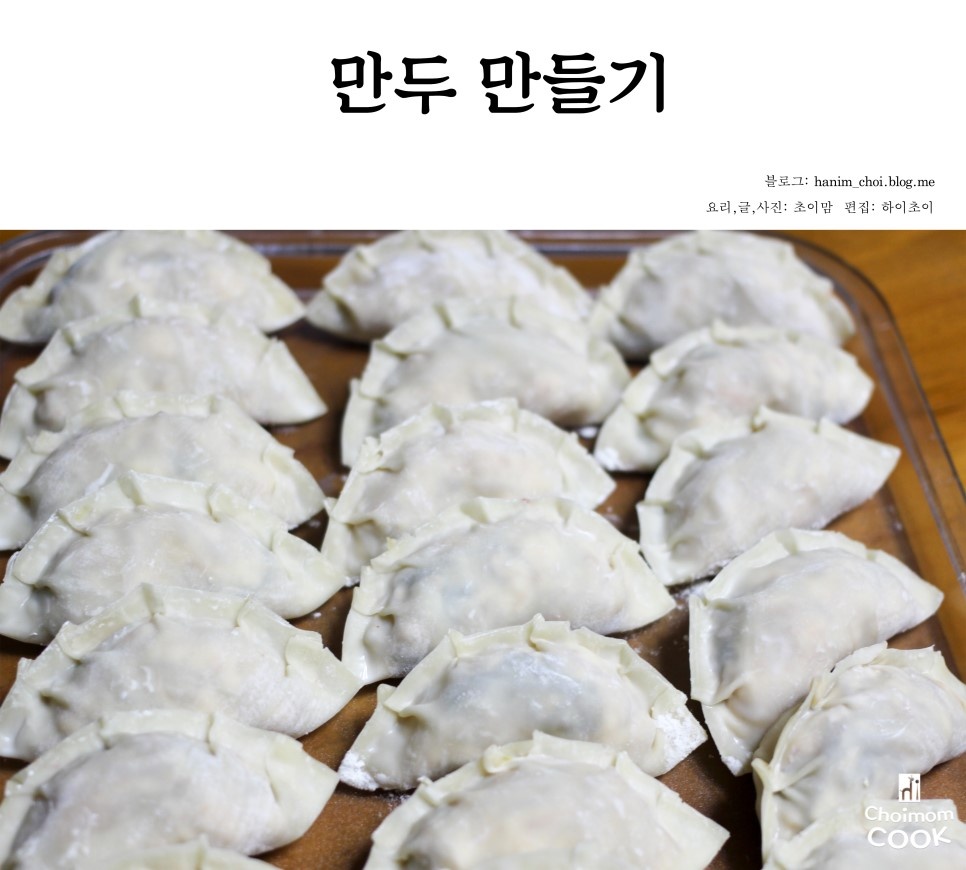
Pyongyang-style Kimchi Mandu (Hwanghae-style)
Making Authentic Pyongyang-style Kimchi Mandu at Home: Hwanghae-style Mandu Recipe

Hello everyone, it’s Choi Mom! My father is from Hwanghae, North Korea, so we always had the same kind of mandu every winter. Even when I didn’t feel like making them, I had to make them, and back then, we used to make the wrappers quite thick. Although I make them with modern wrappers now, I really miss those old-fashioned mandu. Thankfully, my kids love them too! Let’s make some delicious mandu together with Choi Mom! This recipe focuses on the traditional Hwanghae-style filling, offering a rich and savory flavor profile.
Mandu Filling Ingredients- 1 bag (approx. 300g) Mung bean sprouts
- 2 blocks (approx. 600g) Firm Tofu
- 1 head (small) Napa Cabbage Kimchi
- 100g Glass noodles
- 300g Pork loin
- 2 Eggs
Filling Seasoning- Salt to taste
- 2 Tbsp minced garlic
- 1 stalk Green onion
Dipping Sauce Ingredients- Soy sauce
- Gochugaru (Korean chili flakes)
- Green onion
- Plum extract
- Sesame oil
- Sesame seeds (a pinch)
- Salt to taste
- 2 Tbsp minced garlic
- 1 stalk Green onion
Dipping Sauce Ingredients- Soy sauce
- Gochugaru (Korean chili flakes)
- Green onion
- Plum extract
- Sesame oil
- Sesame seeds (a pinch)
Cooking Instructions
Step 1
Here’s how to prepare the ingredients for the mandu filling. Using fresh ingredients will result in a delicious filling.

Step 2
Thinly slicing the pork loin helps to shorten the cooking time and ensures a tender texture.

Step 3
Blanch the mung bean sprouts in boiling water, then rinse under cold water and squeeze out excess moisture. Finely chop them. Also, finely chop the pork loin.

Step 4
Lightly stir-fry the chopped pork loin in a pan. This step removes any gamey odor and enhances the flavor of the pork.

Step 5
Soak the glass noodles in water beforehand, then boil them in hot water. Soaking them while preparing other ingredients saves time.

Step 6
After blanching and rinsing the mung bean sprouts, thoroughly squeeze out any remaining water. Then, chop them very finely, almost like mincing. If the pieces are too large, the texture won’t be as pleasant.

Step 7
Similarly, finely chop the boiled glass noodles. Ensure the glass noodles are fully cooked; otherwise, your mandu might burst during cooking. This is a crucial step for success.

Step 8
Place the two blocks of tofu in a cheesecloth or a thin kitchen towel and press firmly to remove as much water as possible. Removing excess water is essential to prevent a soggy mandu filling.

Step 9
Combine the squeezed mung bean sprouts and chopped glass noodles in a bowl. Gently loosen them up so they don’t clump together.

Step 10
Add the squeezed kimchi, stir-fried pork, and the water-pressed tofu to the bowl. It’s best to use kimchi that isn’t overly sour for a balanced flavor.

Step 11
Crack in the two eggs and add the finely chopped green onion and 2 tablespoons of minced garlic. These additions will enhance the savory flavor of the mandu filling.

Step 12
Season with fine salt to your preference. Mix all the ingredients thoroughly to create a delicious mandu filling.

Step 13
Before wrapping the mandu, prepare some flour on a plate. Dusting the mandu with flour prevents them from sticking to each other, especially during freezing.

Step 14
We’re using store-bought mandu wrappers for convenience. When using them, lightly moisten the edges with water; this helps them seal properly.

Step 15
Have some fresh water ready to moisten the mandu wrappers.

Step 16
Place one mandu wrapper on your palm. Add a moderate amount of the prepared filling in the center. Apply water evenly along the edges of the wrapper.

Step 17
Use your thumb and index finger to press firmly and shape the mandu. And just like that, your delicious mandu are complete! Isn’t that easy?!

Step 18
Lightly coat the finished mandu with the prepared flour. This prevents them from sticking together, which is especially helpful if you plan to freeze them.

Step 19
Arrange the newly made mandu in rows.

Step 20
Place the mandu in a single layer, ensuring they don’t touch each other, and immediately transfer them to the freezer to freeze. Making a large batch at once is very convenient for later.

Step 21
Frozen mandu can be easily taken out and cooked whenever you feel hungry or crave a snack, making them incredibly convenient. It’s wonderful to have homemade mandu ready to go when you have the time to prepare them in advance.

Step 22
Let’s make a simple dipping sauce. Combine soy sauce with chopped green onion, plum extract, a pinch of gochugaru, and a drizzle of sesame oil. Sprinkle with sesame seeds for a flavorful sauce!

Step 23
These mandu are traditionally boiled rather than steamed. They are ready when they float to the surface of the boiling water. Simply scoop them out.

Step 24
While boiling is recommended, you can also steam them in a steamer basket. Enjoy them prepared in various ways!

Step 25
Dip the boiled mandu into the prepared dipping sauce. The combination of the savory filling and the tangy sauce is absolutely delicious! Experience the charm of these hearty, Pyongyang-style mandu!

Step 26
Since it’s hard to find good Hwanghae-style mandu in stores, I decided to make them myself. Recreate this nostalgic taste!

Step 27
This recipe creates boiled mandu, which are moist and tender, rather than steamed mandu.


