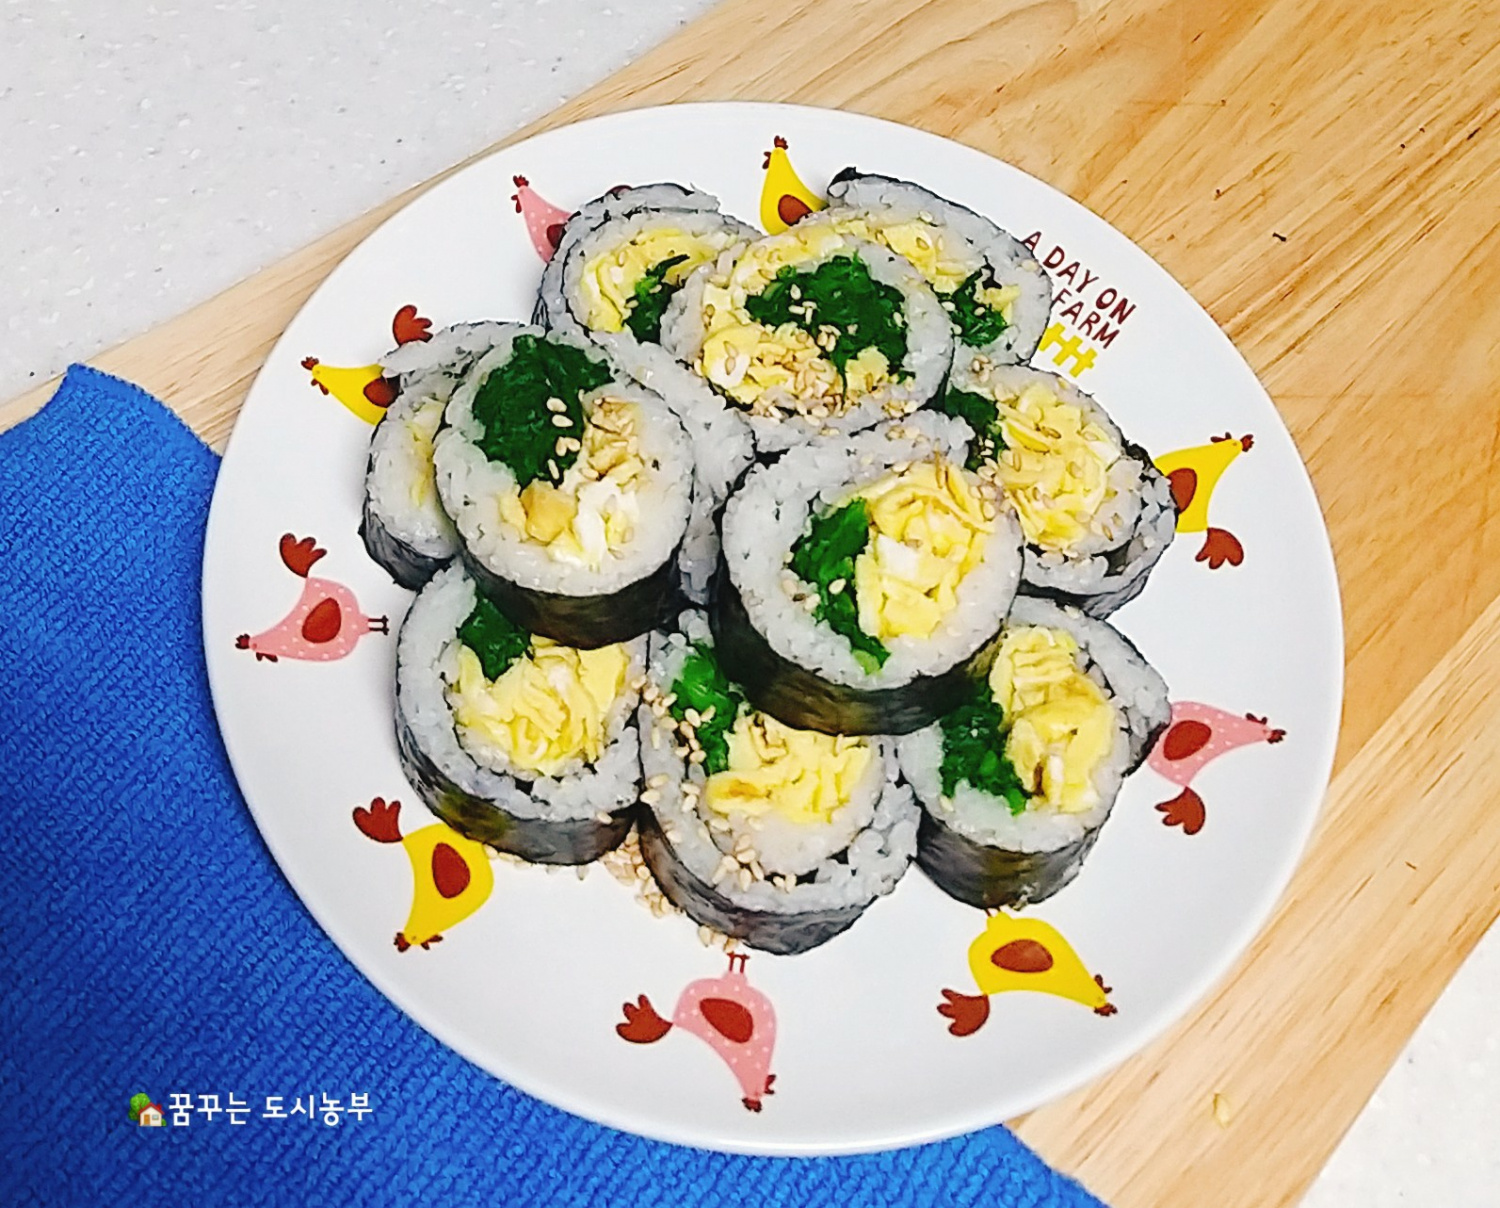
Simple and Fresh Egg and Chive Kimbap
Clean and Light Egg and Chive Kimbap without Any Fuss

Sometimes, a meal that’s as clean and light as this egg and chive kimbap is just perfect. The simplicity of these ingredients makes for a wholesome and delicious meal that’s satisfying without being heavy. Enjoy this straightforward recipe that’s ideal for a healthy and tasty option.
Kimbap Ingredients- 2 bowls warm cooked rice
- 2 sheets dried seaweed for kimbap
- 5 eggs
- 1 bunch fresh chives
Seasoning and Flavoring- Salt to taste
- 1 Tbsp sesame oil
- Sesame seeds to garnish
- Salt to taste
- 1 Tbsp sesame oil
- Sesame seeds to garnish
Cooking Instructions
Step 1
Crack the 5 eggs into a bowl. Add a pinch of salt to season the eggs and help remove any eggy smell.

Step 2
Whisk the eggs thoroughly with a fork or whisk until well combined. Removing the chalazae (the white stringy bits) will result in a smoother egg omelet.

Step 3
Thoroughly wash the fresh chives under running water, ensuring all dirt and debris are removed.

Step 4
Cut the cleaned chives in half lengthwise and then into about 5-7 cm lengths. This size is perfect for kimbap.

Step 5
Bring a pot of water to a boil and add 1 tablespoon of salt. This helps to keep the chives vibrant green and crisp.

Step 6
Carefully add the cut chives to the boiling water and blanch for about 20-30 seconds. Be careful not to overcook, as they can become mushy.

Step 7
Immediately remove the blanched chives from the hot water and rinse them under cold running water. This step further enhances their vibrant green color and maintains their crisp texture.

Step 8
Squeeze out any excess water from the chives. In a bowl, lightly season them with a pinch of salt, some sesame seeds, and ½ tablespoon of sesame oil. Gently toss to combine. The goal is to highlight the fresh, aromatic flavor of the chives.

Step 9
Heat a non-stick frying pan over medium-low heat. A well-seasoned pan is ideal for making omelets.

Step 10
Pour the whisked egg mixture thinly into the heated pan. Tilt the pan to ensure the egg spreads evenly across the surface.

Step 11
Cook over medium-low heat until the bottom layer of the egg is set and the edges begin to firm up. Gently flip the egg omelet using chopsticks or a spatula.

Step 12
Cook the other side until lightly golden brown. Once cooked, let the egg omelet cool slightly.

Step 13
Once cooled, cut the egg omelet into 2-3 long strips or roll it up and slice it into manageable pieces for kimbap. Slicing them thinly will make them easier to arrange in the roll.

Step 14
For the rice, ensure it’s warm (but not steaming hot). Season the rice with a pinch of salt, ½ tablespoon of sesame oil, and a sprinkle of sesame seeds. Mix gently to combine.

Step 15
Place a sheet of kimbap seaweed, shiny side down, onto a bamboo rolling mat.

Step 16
Spread the seasoned rice evenly and thinly over the seaweed, leaving about a 1-2 cm border at the top edge. This empty space will help seal the kimbap.

Step 17
Arrange a generous layer of the sliced egg omelet over the rice.

Step 18
Place the seasoned chives on top of the egg omelet. The bright green of the chives will add visual appeal to the kimbap.

Step 19
Using the bamboo mat, carefully roll the kimbap tightly from the bottom edge, tucking in the filling. Ensure it’s rolled firmly to prevent it from falling apart.

Step 20
Slice the rolled kimbap into bite-sized pieces, about 1.5-2 cm thick. Lightly brush the knife with sesame oil to prevent the rice from sticking. Finally, sprinkle some sesame seeds over the top for a beautiful finish. Your delicious egg and chive kimbap is ready to enjoy!


