SNS Favorite! Cherry Blossom Rolled Omelet
Homemade Cherry Blossom Rolled Omelet Recipe – Perfect for Kids!

Introducing the trendy Cherry Blossom Rolled Omelet you’ve seen on social media! You can easily make this at home with just cookie cutters. Its adorable shape makes it perfect for kids’ lunchboxes or special occasions. Let’s create this simple yet beautiful dish together!
Key Ingredients- 3 Fresh Eggs
- 3 slices of thinly sliced ham
- Olive oil, for cooking
- 1 pinch of Salt
Cooking Instructions
Step 1
To begin creating the beautiful cherry blossom effect, carefully separate the egg yolks from the whites into two separate bowls. This separation is key to achieving the distinct colors.

Step 2
Prepare your sliced ham. You can use Spam or any thinly sliced ham you have at home. If you have a cherry blossom-shaped cookie cutter, that’s ideal! Otherwise, use any cute shape you have, like a star or heart. Today, we’ll be using a star-shaped cutter.

Step 3
Once the ham shapes are cut, gently arrange them to ensure they will look appealing within the omelet. Try not to overlap the ham pieces too much.

Step 4
Preheat your non-stick pan over low heat. Once warm, lightly coat the pan with olive oil, ensuring an even layer. Use just enough oil to prevent sticking.

Step 5
First, pour the separated egg yolks into the heated pan and spread them thinly to form the base layer of your rolled omelet. Cook until they are just set.

Step 6
Now for the star of the show – the ham shapes! When the egg yolk layer is slightly cooked, carefully place the cut ham shapes onto the egg surface in an appealing pattern.

Step 7
Next, gently pour the separated egg whites over the ham and yolk layer. Be careful not to dislodge the ham shapes as you pour. The egg white will envelop the ham.

Step 8
This is the crucial step for a cohesive omelet: cook the layers together. Ensure the yolk and white cook together, encasing the ham. Adjust the heat to prevent burning, and gently flip the omelet to cook evenly on both sides. You can lightly press down to help the ham set within the egg.

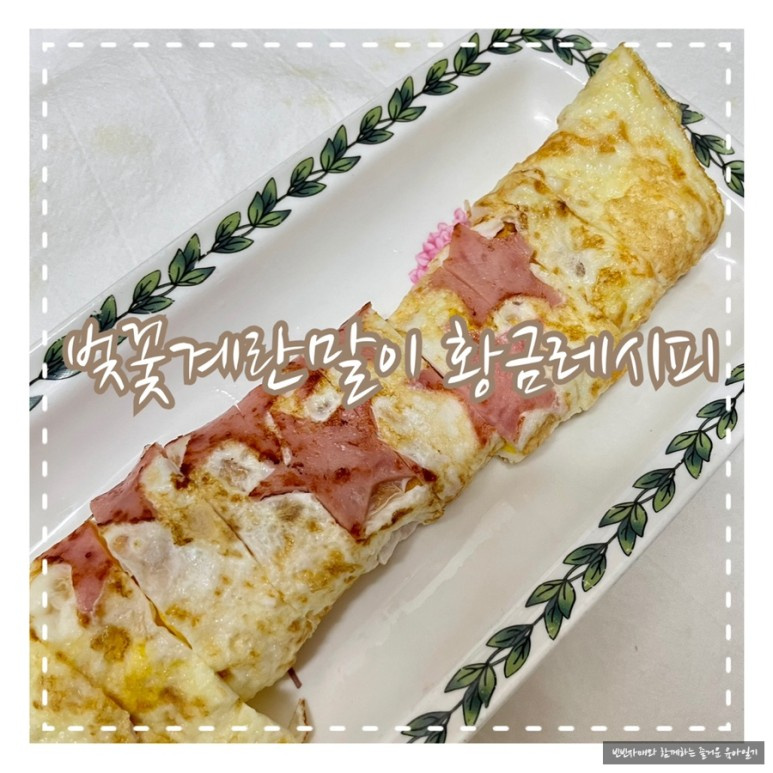
Step 9
And there you have it – a beautiful Cherry Blossom Rolled Omelet! I only used two ham shapes, which made it look a little sparse. Using 3 to 4 ham shapes would create a much fuller and more impressive cherry blossom design.

Step 10
Instead of a plain omelet, making this cute Cherry Blossom Rolled Omelet will surely delight children! It’s a feast for the eyes and the palate. Add a touch of specialness to your mealtime with this lovely omelet.


