Soft & Chewy Homemade Milk Bread
Effortlessly Chewy and Delicious Milk Bread with a Simple Kneading Method

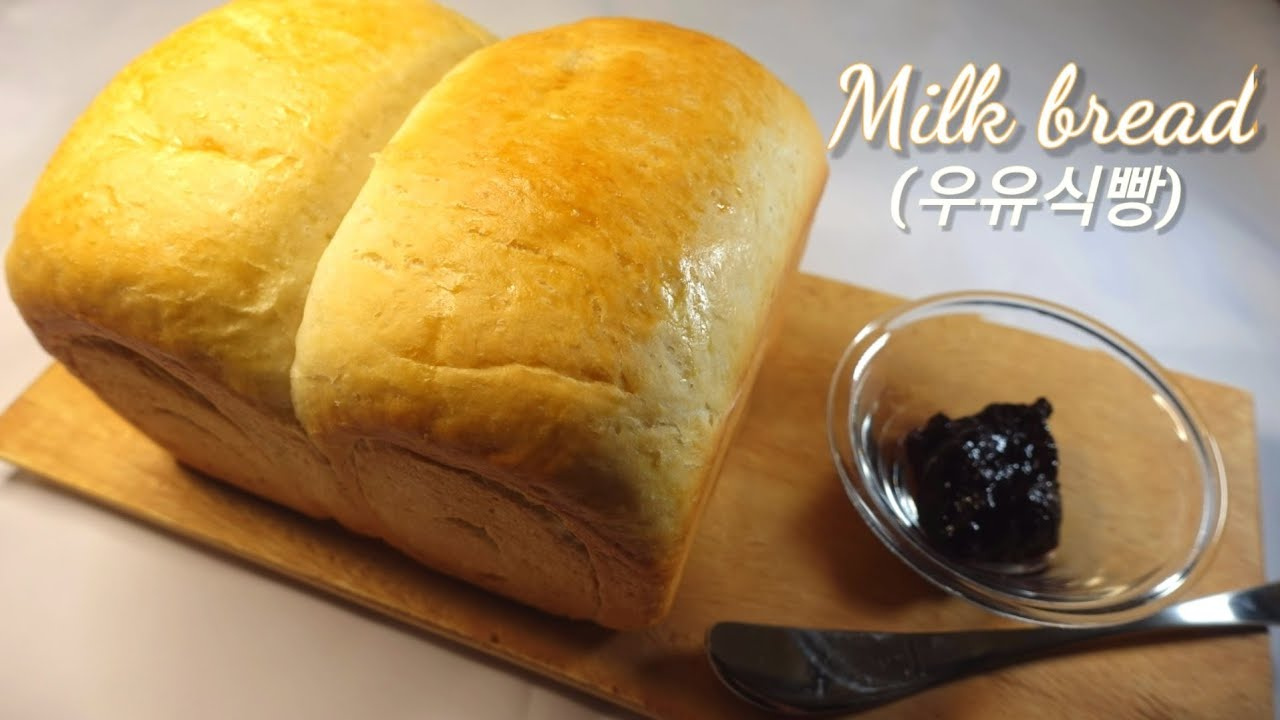
I originally intended to make a Pullman loaf, perfect for sandwiches and toast. However, perhaps due to a slight miscalculation in ingredients or my developing ‘bread intuition,’ it turned out to be a wonderfully delicious loaf of standard milk bread. Baking has taught me that to achieve a specific type of bread, one needs to go beyond just following a recipe and develop a feel for adjusting ingredient quantities. While mastering this intuition takes time and practice, I’m confident that with more baking, I’ll eventually succeed with the Pullman loaf! For now, though, this milk bread turned out exceptionally well. Made solely with milk, its texture is incredibly soft yet delightfully chewy – a truly satisfying bite. Even with a simple kneading process, this milk bread boasts a beautifully dense crumb and fantastic flavor. Enjoy making this delightful bread! Stay healthy and happy! ♡
Ingredients- 350g Bread flour
- 220g Milk
- 5g Instant dry yeast
- 35g Unsalted butter, softened to room temperature
- 5g Salt
- 25g Sugar
- Egg wash (1 egg mixed with 1 Tbsp water)
Cooking Instructions
Step 1
In a large bowl, combine the bread flour, sugar, salt, and dry yeast. Give them a quick mix. (Ensure the yeast and salt don’t come into direct contact.) Pour in the milk and stir with a spatula or your hands until a rough dough forms, just enough to incorporate the dry ingredients. Add the softened butter and begin to knead by folding the dough over itself. Continue kneading for about 10-15 minutes until the dough becomes smooth and elastic. It’s ready when it develops a good gluten structure.

Step 2
Place the kneaded dough into a clean bowl, cover it with plastic wrap or a damp kitchen towel, and let it proof in a warm place for the first fermentation. Allow it to rise until doubled in size, which typically takes about 1 hour. Fermentation time can vary depending on the ambient temperature. (Ideal temperature: 25-27°C / 77-81°F)

Step 3
After the first fermentation, gently punch down the dough on a lightly floured surface to release the gases. Gather the dough together with your hands, shaping it into a smooth ball.

Step 4
Divide the dough into two equal pieces (or your desired portion size). On a lightly floured surface, use a rolling pin to flatten each piece of dough into a long rectangle. Aim for a thickness of about 0.5 cm (approx. 0.2 inches), avoiding rolling it too thin.

Step 5
Starting from one of the long edges, tightly roll up each flattened dough piece. Rolling it firmly will help create a beautiful, layered crumb. Pinch the seam to seal it securely. Place the rolled dough seam-side down into a greased loaf pan (a standard loaf pan or even a pound cake pan works). Ensure the seam is at the bottom.

Step 6
Cover the loaf pan with plastic wrap or a damp cloth and let it undergo a second fermentation in a warm place. This usually takes about 40 minutes to 1 hour, or until the dough has risen to about 80-90% of the height of the pan. Preheat your oven to 180°C (350°F) during this time.

Step 7
Once the second fermentation is complete, gently brush the top of the dough with the prepared egg wash. Bake in the preheated oven at 180°C (350°F) for approximately 25-30 minutes. The bread is ready when the crust is golden brown and a skewer inserted into the center comes out clean. Baking times and temperatures may need adjustment based on your oven’s performance.

Step 8
Carefully remove the baked bread from the pan and let it cool completely on a wire rack. Slicing while it’s still warm can cause the bread to collapse, so patience is key! Store the cooled bread in an airtight container to maintain its freshness and moisture. Enjoy your delicious homemade milk bread!


