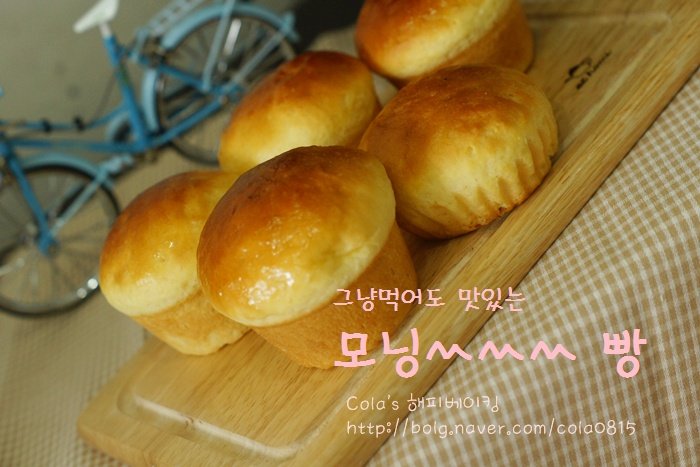
Soft Cream Morning Buns
Delicious Morning Buns Abundantly Filled with Fresh Cream

The joy of tearing into a freshly baked, fluffy morning bun with warm milk! This recipe introduces delicious morning buns made with plenty of fresh cream, making them exceptionally soft and flavorful. They’re perfect for breakfast or as a snack, and everyone will love them.
Morning Bun Dough Ingredients- 250g Bread Flour
- 4g Salt
- 4g Instant Dry Yeast
- 70g Oligosaccharide
- 60ml Sweetened Whipped Cream
- 130ml Water
- 1 Large Egg
- 30g Unsalted Butter, softened
Cooking Instructions
Step 1
In the bread maker pan, combine 130ml water, 60ml sweetened whipped cream, 70g oligosaccharide, and 1 large egg. Mix lightly. Add 250g sifted bread flour. Make a small well in the center and add 4g salt and 4g instant dry yeast separately. Select the ‘Dough’ cycle on your bread maker to complete the first kneading and first proofing. When the dough starts to come together, add 30g of softened butter and allow the cycle to finish. Leaving the butter out at room temperature beforehand helps it incorporate smoothly into the dough.

Step 2
Gently remove the dough, which has completed its first proof, onto a lightly floured work surface. To preserve the delicate structure of the proofed dough, avoid tearing it forcefully. Instead, invert the bread maker pan and allow the dough to slide out. Lightly dust your work surface with flour and use a rolling pin to gently press out the gas from the dough.

Step 3
Cover the deflated dough with a damp kitchen towel and let it rest at room temperature for 10-15 minutes. This resting period, also known as ‘intermediate proofing’ or ‘bench time,’ allows the gluten to relax, making the dough easier to shape for the next step.

Step 4
Boil some water for the second proofing. While the water heats, lightly degas the rested dough again with the rolling pin. Divide the dough into portions suitable for your desired morning bun size. Shape each portion into a smooth, round ball by cupping your hands around it, as shown in the photo.

Step 5
Pour the boiled water into an oven-safe pan and place it in the oven. Preheat the oven briefly for about 1-2 minutes, just until you can feel a gentle warmth when you place your hand inside; then, turn off the oven. Place the shaped dough balls onto a baking sheet or into muffin tins. Cover the buns with plastic wrap or a lid and let them undergo their second proofing for about 40 minutes. (Note: You can also shape them into traditional morning bun shapes and bake them in muffin tins.)

Step 6
Check if the dough has doubled in size after the second proofing. Gently brush the tops of the buns with an egg wash made by whisking 1 egg yolk with 2 tablespoons of water. Discard the water used for proofing. Place the baking pan with the buns back into the oven (or use the muffin tin pan directly). Set the oven to 200°C (392°F) and bake for 10 minutes without preheating. *The crucial part is observing the dough’s volume increase; aim for it to double in size, rather than strictly adhering to the time. The doubling of the dough indicates it’s ready for baking.

Step 7
While the buns are still warm from the oven, brush them with melted butter for a glossy finish and an extra soft texture. To maintain their softness, store freshly baked buns in an airtight container or wrap them before they cool down completely.


