Soft & Moist Yogurt Morning Buns
Create Fluffy and Delicious Yogurt Morning Buns Using Yogurt Instead of Water

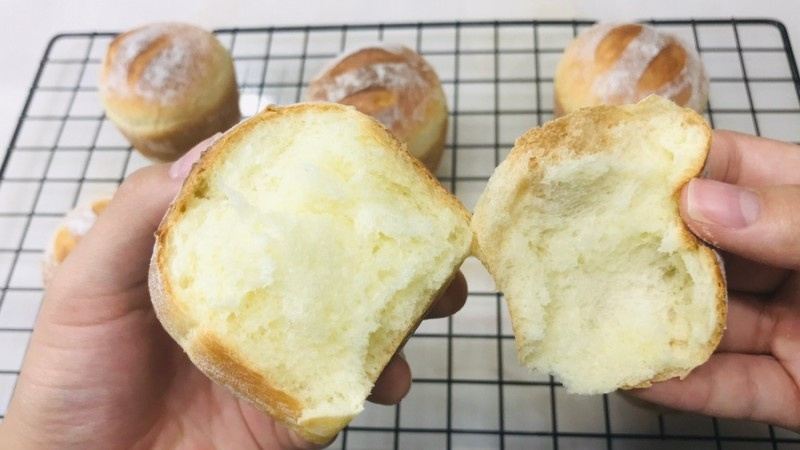
Today, we’re making wonderfully soft and moist morning buns by using yogurt and eggs in the dough instead of water. They are so good fresh and warm that you might find yourself devouring one in no time! Once baked and cooled to about body temperature, store them in an airtight container in the freezer. When you crave one, simply take it out, let it thaw at room temperature to release the chill, and enjoy them as if they were freshly baked.
Ingredients- 160g Bread Flour
- 10g Skim Milk Powder
- 15g Sugar
- 2.5g Salt
- 90g Plain Yogurt (unsweetened)
- 30g Egg (approx. 1/2 large egg)
- 2g Instant Dry Yeast
- 15g Unsalted Butter (softened at room temperature)
Cooking Instructions
Step 1
In a bread maker or stand mixer bowl, first add the liquid ingredients: yogurt and egg. Then, add all the remaining dry ingredients (bread flour, skim milk powder, sugar, salt, and yeast). It’s best to add the yeast and salt separately so they don’t touch each other directly.

Step 2
Start mixing with your appliance. Once the dough comes together and starts to pull away cleanly from the sides of the bowl, add the softened unsalted butter. Continue kneading until the dough becomes smooth and elastic. (For hand kneading: In a bowl, combine all ingredients except butter and mix until a dough forms. Transfer to a work surface, add the butter, and knead vigorously for about 10-15 minutes until smooth and elastic.)

Step 3
Gently stretch the smooth dough. If you can form a thin, translucent membrane (windowpane test), gather the dough into a ball. Place the dough in a bowl or cover it with plastic wrap. Let it undergo its first proof in a warm place (around 28-30°C or 82-86°F) for 1 hour, or until it has doubled in size.

Step 4
After the first proof, gently punch down the dough on a lightly floured surface to release the gas. Divide the dough into 6 equal portions and shape each piece into a smooth ball. Cover with plastic wrap or a damp cloth and let it rest for 10 minutes (intermediate proof), allowing the dough to relax and become easier to handle.

Step 5
After the intermediate proof, gently re-shape each portion into a ball. Lightly dust with some flour, tap off any excess, and place each dough ball seam-side down into a muffin tin.

Step 6
Cover the muffin tin with plastic wrap or a damp cloth. Let the buns undergo their second proof in a warm place (around 35-40°C or 95-104°F) for 1 hour, or until they have puffed up nicely to the top of the tin.

Step 7
Once the second proof is complete, use a sharp knife or a lame to quickly score the top of each bun with a single slash (coupe). Don’t cut too deeply; just enough to allow for expansion as they bake.

Step 8
Bake in a preheated oven at 180°C (350°F) for 15 to 17 minutes, or until golden brown and delicious. As soon as they come out of the oven, gently ‘thump’ the muffin tin on the counter (while still in the tin) to release trapped steam. Immediately remove the buns from the tin and let them cool completely on a wire rack.


