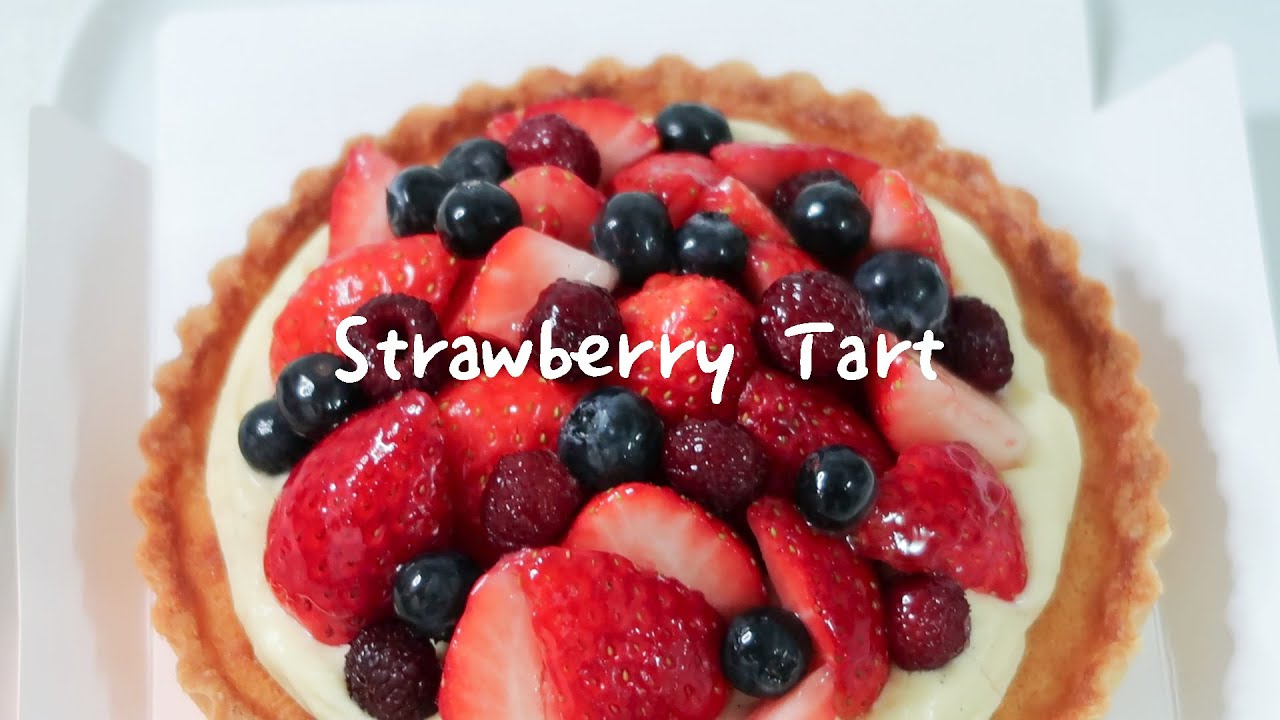
Sparkling Strawberry Christmas Tart
A Beautiful Strawberry Tart Recipe to Elevate Your Home Baking

Introducing a special strawberry tart recipe that will elevate your home baking skills to the next level. This recipe comes from Kaoru Takeda, a renowned pastry researcher, and even if you’re not an experienced baker, you’ll be able to create a stunning tart like a professional. With its exquisite taste and appearance, this strawberry tart makes a delightful Christmas dessert. Enjoy the process and the satisfaction of creating something truly special for your loved ones this holiday season!
Tart Shell Dough- 60g unsalted butter, cold
- 45g granulated sugar
- 100g bread flour
- 45g almond flour
- 20g egg yolk (about 1/2 large egg)
Rich Almond Cream- 50g unsalted butter, softened at room temperature
- 50g granulated sugar
- 50g finely ground almond flour
- 50g egg (about 1 large egg)
- 3g rum (optional, for added aroma)
Smooth Custard Cream- 9g cornstarch
- 1/4 vanilla bean
- 60g fresh milk
- 1 large egg yolk
- 10g unsalted butter
Refreshing Strawberry Nappage- 100g frozen strawberries
- 20g granulated sugar
- 1.5g sheet gelatin (about 1/2 sheet)
Vibrant Fruit Topping- Fresh strawberries, sliced in various sizes
- Fresh blueberries
- Fresh raspberries
- 50g unsalted butter, softened at room temperature
- 50g granulated sugar
- 50g finely ground almond flour
- 50g egg (about 1 large egg)
- 3g rum (optional, for added aroma)
Smooth Custard Cream- 9g cornstarch
- 1/4 vanilla bean
- 60g fresh milk
- 1 large egg yolk
- 10g unsalted butter
Refreshing Strawberry Nappage- 100g frozen strawberries
- 20g granulated sugar
- 1.5g sheet gelatin (about 1/2 sheet)
Vibrant Fruit Topping- Fresh strawberries, sliced in various sizes
- Fresh blueberries
- Fresh raspberries
- 100g frozen strawberries
- 20g granulated sugar
- 1.5g sheet gelatin (about 1/2 sheet)
Vibrant Fruit Topping- Fresh strawberries, sliced in various sizes
- Fresh blueberries
- Fresh raspberries
Cooking Instructions
Step 1
✨ Prepare the Day Before: Making the Tart Shell Dough ✨
1. In a bowl, sift together the bread flour and almond flour. Add the cold, cubed unsalted butter. Using a pastry blender or your fingertips, quickly cut the butter into the flour until the mixture resembles coarse crumbs. Work quickly to prevent the butter from melting.
2. Stir in the granulated sugar and mix lightly. Add the egg yolk and use a spatula or knife to cut it into the flour mixture until it just starts to come together. Gently press the dough with the palm of your hand to form a smooth ball without cracks. Avoid overworking the dough, as this can make it tough.
3. Divide the dough into two portions, wrap each tightly in plastic wrap, flatten them into discs, and refrigerate overnight. This resting period allows the gluten to relax, making the dough easier to handle.

Step 2
✨ Prepare the Day Before: Making the Almond Cream ✨
1. In a bowl, cream the softened unsalted butter using a spatula or electric mixer until smooth and fluffy.
2. Add the granulated sugar all at once and beat with the butter until light and creamy, with a pale ivory color. Whisking until airy is key for a good texture.
3. Gradually add the egg, about 1 teaspoon at a time, beating well after each addition to ensure it’s fully incorporated and the mixture doesn’t curdle. Adding the egg in small increments is crucial for a smooth almond cream.
4. Stir in the almond flour with a spatula until just combined. Be careful not to overmix.
5. Finally, add the rum (if using) and mix gently. Wrap the bowl with plastic wrap and refrigerate overnight. The rum adds a wonderful aroma; it can be omitted if preferred.

Step 3
🌟 Crafting the Silky Custard Cream 🌟
1. In a small saucepan, whisk together the cornstarch and about 20-30cc of the milk (into which you’ve scraped the seeds from the vanilla bean) until smooth and lump-free. Using the seeds from the vanilla bean will infuse a richer flavor.
2. Add the egg yolk and whisk until well combined and slightly lighter in color.
3. Pour in the remaining milk and stir well. Heat the mixture over medium-low heat, stirring constantly, until it just begins to simmer. Bringing it to a gentle simmer is important for thickening.
4. Once the cream starts to thicken, increase the heat to medium-high and continue stirring for about 30 seconds to 1 minute to achieve the desired consistency. Be sure to scrape the bottom to prevent scorching.
5. Remove from heat and stir in the unsalted butter while the cream is still warm until fully melted. The butter adds richness and a glossy finish.
6. Pour the cream into a shallow dish or bowl, cover the surface directly with plastic wrap (to prevent a skin from forming), and place it on an ice pack to cool rapidly. This quick cooling helps maintain a smooth texture.
7. While the custard cools, whip the liquid cream in a separate bowl using an electric mixer until stiff peaks form. It should be thick and hold its shape.
8. Once the custard cream is completely chilled, pass it through a fine-mesh sieve for extra smoothness. Then, gently fold in the whipped cream in three additions, being careful not to deflate the air. Use a spatula and fold as if you were handling feathers.
9. Transfer the finished custard cream into a piping bag and refrigerate until ready to use. Keeping it cold will help it hold its shape when piping.

Step 4
🥐 Shaping the Tart Shell 🥐
1. Lay a sheet of plastic wrap on your work surface. Place one portion of the chilled tart dough on top. Cover the dough with another sheet of plastic wrap. Using a rolling pin, evenly roll out the dough to a thickness of about 3mm, into a round shape slightly larger than your tart pan. This ensures you have enough dough to cover the sides and any overhang.
2. Carefully transfer the rolled-out dough into the tart pan. Gently press the dough into the base and up the sides of the pan, ensuring there are no air bubbles or gaps. Make sure it fits snugly.
3. Trim any excess dough that extends above the rim of the tart pan using the rolling pin or a sharp knife. It’s best to do this while the dough is still cold to prevent stretching or tearing.
4. Cover the dough-lined tart pan with plastic wrap and refrigerate for 15-20 minutes. This chilling period helps the dough firm up, preventing shrinkage and maintaining its shape during baking.

Step 5
🔥 Preparing the Tart Shell for Baking 🔥
1. Line your work surface with parchment paper or baking paper. Place the tart pan (with the removable bottom) on top of the paper.
2. Carefully place the chilled tart dough from the previous day into the tart pan, pressing it firmly against the bottom and up the sides. Ensure it’s evenly distributed and well-adhered to the pan.
3. Gently roll a rolling pin over the top of the pan to neatly trim away any excess dough that protrudes over the rim. This creates a clean edge.
4. Cover the dough in the tart pan with a fresh piece of plastic wrap. Press the plastic wrap down firmly to ensure it adheres closely to both the dough and the pan, eliminating any air pockets. This step is crucial for preventing the dough from puffing up during baking.
5. To create a decorative, fluted edge, gently press the rim of the dough inward with your fingertips while the plastic wrap is still on. Work quickly, as the butter in the dough can soften from the warmth of your hands.
6. Cover the entire tart shell (while still in the pan) with plastic wrap and refrigerate for at least 1 hour. This thorough chilling solidifies the butter, minimizing shrinkage and ensuring a crispier crust.

Step 6
🔥 Baking the Crisp Tart Shell 🔥
1. Preheat your oven to 180°C (350°F). While the oven preheats, place a grill pan or baking sheet on your work surface and cover it with ‘Food Mesh’ (or a baking punch mat). This elevates the tart shell, allowing air to circulate and promoting a crispier bottom crust.
2. Remove the chilled tart dough from the refrigerator and place it on the Food Mesh, unwrapped.
3. Take the almond cream prepared the previous day, loosen it with a spatula, and spread it evenly and smoothly over the tart shell, ensuring there are no gaps. Fill it right to the edges for a beautiful finish.
4. Bake in the preheated oven at 180°C (350°F) for 20 minutes. Baking times may vary depending on your oven.
5. After 20 minutes, rotate the tart shell 180 degrees in the oven and bake for an additional 3-5 minutes. The tart shell is ready when the edges are golden brown and the almond cream is puffed and set.
6. Remove from the oven and allow to cool completely. The tart shell is fragile when hot, so let it cool fully before proceeding to the next step.

Step 7
🍓 Making the Strawberry Nappage 🍓
1. Place the sheet gelatin in a bowl of ice-cold water and let it soak for about 30 minutes until softened. Squeeze out any excess water.
2. Combine the frozen strawberries and granulated sugar in a bowl. Cover with plastic wrap and let sit at room temperature for about 1 hour, allowing the strawberries to thaw and release their juices.
3. Strain the thawed strawberries through a fine-mesh sieve into a saucepan or microwave-safe bowl, collecting only the clear juice. Discard the strawberry solids.
4. Add the squeezed gelatin to the strawberry juice. Microwave on high for 20-30 seconds, or until the gelatin is fully dissolved and the mixture is steaming slightly. Be careful not to overheat, as this can weaken the gelatin’s setting power.
5. Stir well and let the nappage cool completely to room temperature. Using it while warm will cause it to melt and run off the fruit.

Step 8
🎨 Decorating the Tart Beautifully 🎨
1. Carefully remove the completely cooled tart shell from the pan. If it’s sticking, gently run a knife around the edge before removing the outer ring.
2. Spoon or pipe the prepared custard cream onto the cooled tart shell. Spread it evenly using a spatula, creating a smooth surface. Leave a small border of about 1cm around the edge to prevent overflow.
3. Arrange the sliced fresh strawberries attractively over the custard cream. You can create patterns or simply place them closely together. Leave some space between the strawberries so the custard cream peeks through, making the tart look more voluminous. (Consider leaving about 2cm border to account for the weight of the strawberries pushing the cream.)
4. Add blueberries and raspberries to fill in any gaps and add color. Mix and match the fruits to create a visually appealing design. Your beautiful tart, a feast for the eyes, is almost ready!

Step 9
✨ Finishing Touch: Glazing with Nappage ✨
1. Prepare the cooled strawberry nappage. If it has set too firmly, gently warm it slightly until it becomes spreadable again.
2. Using a pastry brush or a small spatula, gently brush the strawberry nappage over the arranged fruit on the tart. This will give the fruit a beautiful sheen and help preserve its freshness. Apply it only to the fruit, avoiding the tart shell or cream.
3. Be careful not to apply too much nappage, as it can make the fruit sticky. A thin, even glaze is best. Your stunning and delicious strawberry tart is now complete! Enjoy your delightful baking creation!


