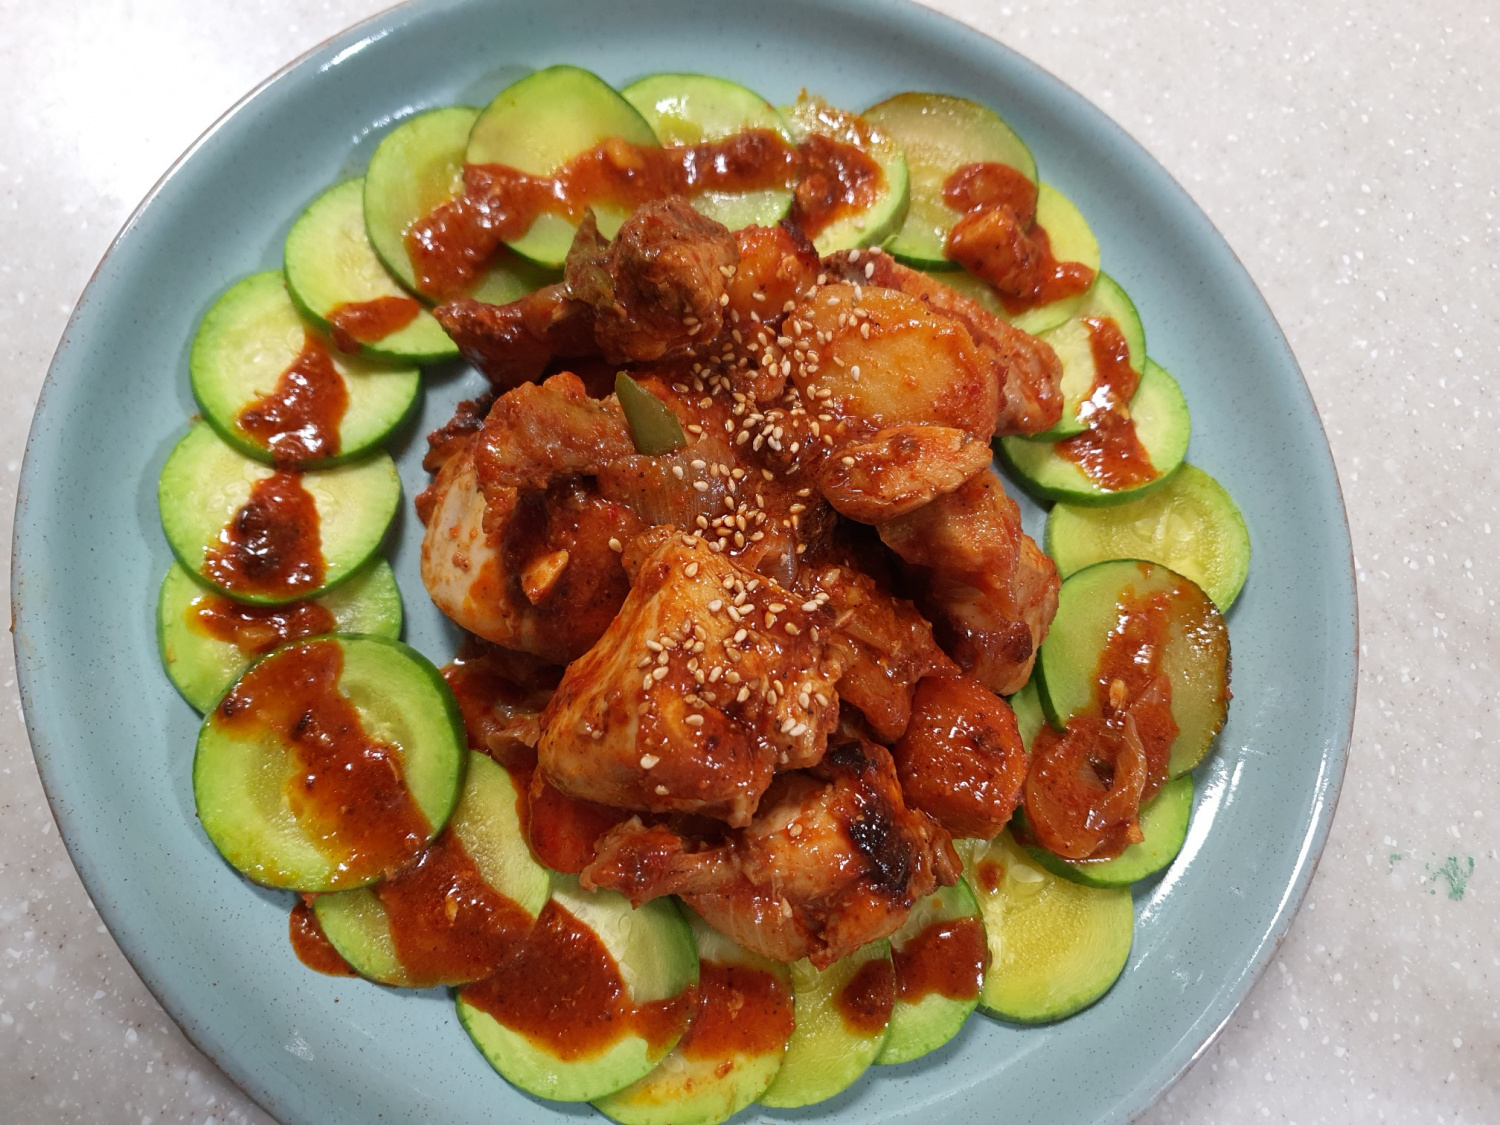
Spicy and Savory Dakbokkeumtang (Korean Braised Chicken)
Dakbokkeumtang

Our eternal companion~~~~ Chicken, chicken~~ I love chicken so much,,,
Main Ingredients- 1 whole chicken (approx. 12 oz size)
- 1 onion
- 1/3 carrot
- 1 medium potato
- 1/3 zucchini
- 1 stalk green onion
- 5 shiitake mushrooms
Seasoning Sauce- 3 Tbsp Ganjang (soy sauce, preferably seafood-based)
- 2 Tbsp Mirin (rice wine)
- 1 Tbsp minced garlic
- 0.5 Tbsp grated ginger
- 1 Tbsp Gochujang (Korean chili paste)
- 2 Tbsp Gochugaru (Korean chili flakes)
- 1 Tbsp Cane Sugar (or regular sugar)
- 1 Tbsp Jin-ganjang (regular soy sauce)
- 1 pinch salt
- 1.5 Tbsp sesame seeds
- 3 bay leaves
- 0.5 tsp black pepper powder
- 3 Tbsp water
- 2 Tbsp canola oil
- 3 Tbsp Ganjang (soy sauce, preferably seafood-based)
- 2 Tbsp Mirin (rice wine)
- 1 Tbsp minced garlic
- 0.5 Tbsp grated ginger
- 1 Tbsp Gochujang (Korean chili paste)
- 2 Tbsp Gochugaru (Korean chili flakes)
- 1 Tbsp Cane Sugar (or regular sugar)
- 1 Tbsp Jin-ganjang (regular soy sauce)
- 1 pinch salt
- 1.5 Tbsp sesame seeds
- 3 bay leaves
- 0.5 tsp black pepper powder
- 3 Tbsp water
- 2 Tbsp canola oil
Cooking Instructions
Step 1
Prepare one whole chicken (about 12 oz size). First, rinse the chicken thoroughly under cold running water. To remove any blood and gamey odor, place the chicken in a bowl, add 1 Tbsp of minced garlic and 3 bay leaves, then pour hot water over it and let it soak for about 5 minutes. This process helps remove impurities and ensures a cleaner taste. In a separate bowl, chop the vegetables into bite-sized pieces: 1 onion, 1/3 carrot, 1 medium potato, 1/3 zucchini, 1 stalk green onion, and 5 shiitake mushrooms. Cut the potatoes and carrots into pieces that aren’t too small to maintain their texture when cooked.

Step 2
Heat 2 Tbsp of canola oil in a wide, deep pot or wok over medium heat. Add the drained chicken pieces and stir-fry until the surface is lightly browned. Stir-frying the chicken allows some of the fat to render out, adding flavor and making the skin slightly crispy.

Step 3
Once the chicken has started to cook, add 1 Tbsp of minced garlic and 0.5 Tbsp of grated ginger. Stir-fry them together with the chicken for about 1 minute over medium-low heat. The aroma of garlic and ginger will infuse into the oil and coat the chicken with delicious flavor. Be careful not to burn them.

Step 4
Add the carrots and potatoes to the pot and stir-fry them with the chicken for about 2-3 minutes. Adding these firmer vegetables first ensures they cook evenly and have enough time to absorb the flavors alongside the other ingredients.

Step 5
Once the carrots and potatoes have slightly softened, add the remaining vegetables (onion and shiitake mushrooms). Stir everything together. Cover the pot with a lid and let it simmer over low heat for about 5 minutes. The vegetables will release their natural juices, contributing to a richer broth for the Dakbokkeumtang. This steaming process also helps sweeten the vegetables.

Step 6
Now it’s time to add the key seasoning sauce. Combine 3 Tbsp Ganjang, 2 Tbsp Mirin, 1 Tbsp Gochujang, 2 Tbsp Gochugaru, 1 Tbsp cane sugar, 1 Tbsp Jin-ganjang, 1 pinch salt, 0.5 tsp black pepper powder, and 3 Tbsp water in a bowl and mix well. If the sauce seems too thick or is starting to burn, add a little more water. Stir the sauce into the pot, cover with the lid, and let it simmer over low heat for 10-15 minutes, allowing the chicken and vegetables to cook through and absorb the flavors. Stir occasionally to ensure the sauce coats everything evenly.

Step 7
Finally, arrange the chopped green onion and zucchini on top of the chicken and vegetables. Cover the pot again and cook for just 3 more minutes. Adding these softer vegetables at the end helps them retain their fresh texture and bright color. After 3 minutes, remove the lid and check if all ingredients are tender.

Step 8
Transfer the finished Dakbokkeumtang to a serving dish. Garnish generously with 1.5 Tbsp of sesame seeds for an extra nutty aroma and appealing look. Serve hot with a side of steamed rice for a complete and satisfying meal!


