Spring Vegetable Jangajji (Pickled Vegetables)
Three Types of Easy Spring Vegetable Jangajji Bursting with Fresh Spring Flavors

My mom shared a fantastic recipe recently after seeing it somewhere, about making spring vegetable jangajji without boiling and without sugar! I found the recipe through a popular Korean lifestyle show, ‘Salim 9dan Manmulsang’, and immediately decided to try it. This recipe uses grape juice for sweetness and is incredibly simple.
Main Ingredients- 1 pack Korean wild chives (dal-rae)
- 1 bundle Crown daisy (yu-chae)
- 1 bundle Glandularia (bang-pung-namul)
Pickling Brine- 1 cup Soy sauce (jin-ganjang)
- 1/2 cup Vinegar (e.g., brown rice vinegar or apple cider vinegar)
- 1 cup Grape juice
- 1 cup Water
- 1.5 cups Rice wine or Mirin (mat-sul)
- 1 cup Soy sauce (jin-ganjang)
- 1/2 cup Vinegar (e.g., brown rice vinegar or apple cider vinegar)
- 1 cup Grape juice
- 1 cup Water
- 1.5 cups Rice wine or Mirin (mat-sul)
Cooking Instructions
Step 1
This jangajji is special because it uses grape juice instead of sugar to provide a natural sweetness. The organic acids in the grape juice also help prevent the spring vegetables from becoming mushy, ensuring they stay crisp and can be enjoyed for a long time. Plus, there’s no complicated boiling process – just wash the vegetables, and you’re ready to make this delicious pickle!

Step 2
Let’s start by washing the spring vegetables thoroughly. Prepare a basin with lukewarm water and add half a cup of vinegar. This vinegar bath will effectively remove dirt and impurities from the vegetables.

Step 3
First up is the crown daisy (yu-chae). Add the crown daisy to the vinegar-infused water and gently stir with chopsticks. This method helps clean the vegetables without damaging them, ensuring the dirt comes off easily.

Step 4
Spring vegetables can sometimes develop a ‘green’ or raw flavor if not washed properly. Using chopsticks to gently agitate them helps remove soil while preserving their fresh, vibrant aroma.

Step 5
After washing, drain the crown daisy in a colander to remove excess water.

Step 6
Just to be extra sure, I rinsed the crown daisy once more under running water to ensure no grit remained. This extra step gives peace of mind.

Step 7
Now, let’s wash the glandularia (bang-pung-namul).

Step 8
Just like the crown daisy, gently stir the glandularia in the vinegar water using chopsticks. Be delicate to avoid damaging its fine leaves.

Step 9
After a thorough wash, give it a final rinse under running water.

Step 10
Here’s how to prepare and wash the Korean wild chives (dal-rae). Their distinctive fragrance is a highlight of spring.

Step 11
This method is so simple and enjoyable! Keep the rubber band on the dal-rae bundle. Place them in the vinegar-infused water and gently swish them, focusing on cleaning the root (head) part to remove any soil.

Step 12
Pay close attention to the root area, as it often holds a significant amount of soil. Make sure to thoroughly clean this part.

Step 13
After rinsing the root ends,

Step 14
Remove the rubber band and gently rinse the stems under running water. Again, avoid rubbing too vigorously.

Step 15
It’s amazing how easily the soil washes away! I gave them one final rinse under running water for good measure.

Step 16
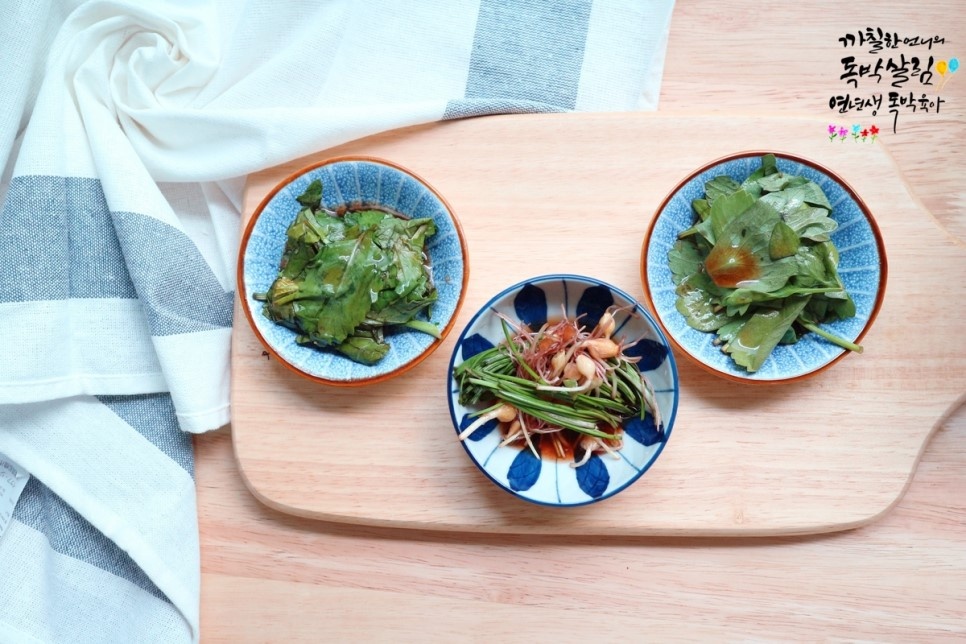
All three spring vegetables are now ready! Just looking at them brings the freshness of spring to mind.

Step 17
Once your spring vegetables are washed and prepped, you’ve completed about 90% of the jangajji-making process. It’s truly that simple!

Step 18
Now, let’s prepare the pickling brine. It only takes a moment.

Step 19
Measure out 1 cup of grape juice. This will provide the subtle sweetness.

Step 20
Add 1 cup of soy sauce (jin-ganjang). This forms the savory base of the brine.

Step 21
Pour in 1/2 cup of vinegar. The vinegar helps keep the vegetables crisp and adds a refreshing tang.

Step 22
Add 1 cup of water to balance the saltiness and acidity.

Step 23
Finally, add 1.5 cups of rice wine or mirin (mat-sul) to enhance the flavor and eliminate any unwanted odors.

Step 24
Stir all the brine ingredients together with a spoon until well combined. Since I had a generous amount of vegetables, I used a large measuring cup, but a smaller one works for standard recipes.

Step 25
Now, cut the prepared spring vegetables into bite-sized pieces. For the crown daisy, cut both the stems and leaves into manageable lengths.

Step 26
Chop the fragrant wild chives into pieces suitable for eating. Avoid cutting them too long, as they can be awkward to handle.

Step 27
Cut the glandularia into appropriate lengths as well, according to your preference. Glandularia has a distinct aroma and flavor, so even a small amount makes a statement.

Step 28
Layer the prepared vegetables in a container, starting with crown daisy, then wild chives, and finally glandularia. This way, you can enjoy three different spring vegetables all at once, which is very convenient.

Step 29
Carefully and gently pour the prepared brine over the vegetables, trying not to disturb their arrangement. It’s important to maintain the shape of the vegetables as much as possible.

Step 30
I divided my vegetables into two large containers since I had quite a lot. Ensure the brine covers the vegetables completely.

Step 31
To prevent the vegetables from floating and to ensure even flavor distribution, place a heavy plate or a food weight on top of the vegetables to keep them submerged in the brine.

Step 32
Close the lid and let it sit at room temperature for 1-2 hours. After this initial period, store it in the refrigerator. The best part is that you can make it and enjoy it almost immediately!

Step 33
After letting it pickle for a day, I tried it, and it tasted like a refreshing salad! The grape juice effectively mellowed out any earthy notes from the vegetables and added a wonderful tanginess. This is truly a recipe to be thankful for!


