Super Simple Crispy & Chewy Rusks
Don’t Throw Away Bread Crusts! Make Delicious Rusks with This Easy Recipe

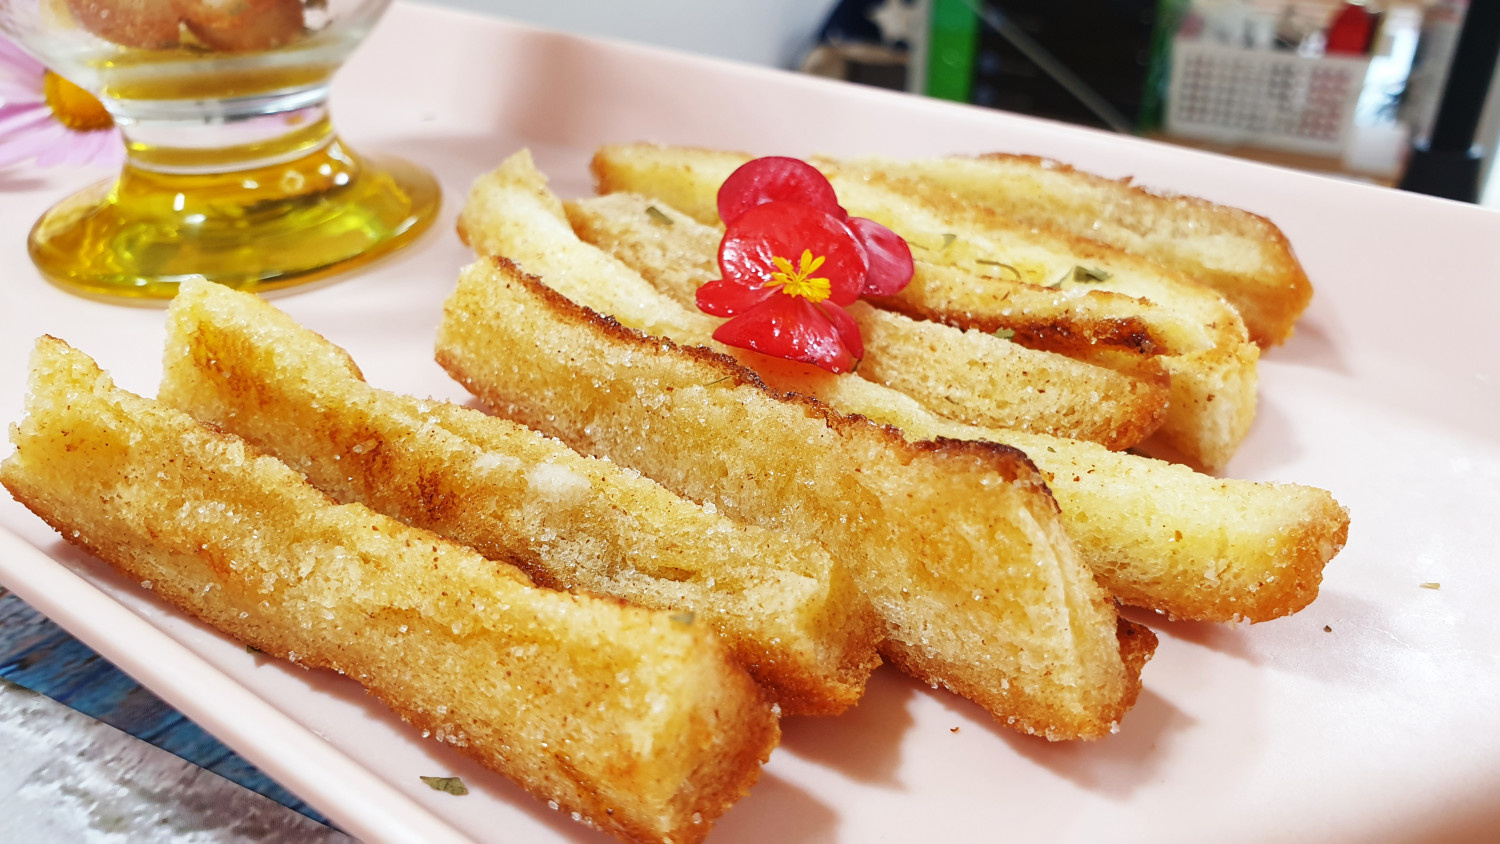
This recipe is so incredibly simple, yet the taste was so surprisingly good that I had to share it! These rusks have a highly addictive flavor. Don’t discard the crusts left over from making sandwiches; turn them into these delightful rusks. They boast a wonderfully crispy exterior and a satisfyingly chewy interior.
Main Ingredients- 16 bread crusts (from 4 slices of bread)
Cooking Instructions
Step 1
In a small pan, melt 3 tablespoons of butter (or more, 2-3 tablespoons generously) over low heat. The rich flavor of the butter is key to delicious rusks, so using a good amount is recommended.

Step 2
Add all the prepared bread crusts to the melted butter. Gently mix them, ensuring the butter is thoroughly absorbed into the bread. Taking the time to let the bread soak up the butter will result in a more moist and flavorful rusk.

Step 3
Line a frying pan or baking sheet with parchment paper. Arrange the butter-coated bread crusts in a single layer, making sure they don’t overlap. Generously sprinkle 1 tablespoon of sugar evenly over the top. Don’t worry if the sugar doesn’t stick perfectly; it will melt and create a sweet coating as it bakes. If you prefer a sweeter taste, feel free to increase the sugar slightly.

Step 4
Cook over medium-low heat, flipping occasionally, until golden brown and crispy on both sides. It’s important to monitor them closely to prevent burning. Slow cooking over gentle heat is crucial for achieving the perfect balance of a crispy exterior and a chewy interior. Once done, let the rusks cool slightly before enjoying them!


