Super Simple Garlic Chives Kimchi Recipe (No Sweet Rice Porridge!)
The Perfect Choice to Revive Your Appetite in Summer: Delicious Garlic Chives Kimchi Made Easily Without Sweet Rice Porridge

As the weather gets warmer and appetites start to fade, this garlic chives kimchi is a magical dish that can bring back your lost cravings! Learn how to make delicious garlic chives kimchi without using sweet rice porridge. This golden recipe ensures a deep and clean flavor, making it easy for anyone to succeed. It’s a true rice thief!
Garlic Chives Kimchi Ingredients- 1kg fresh garlic chives
- 5 Cheongyang peppers (for a spicy kick)
- 20 Tbsp gochugaru (Korean chili flakes, fine grind)
- 20 Tbsp anchovy sauce (for umami)
- 2 Tbsp sugar (for sweetness)
- 4 Tbsp plum extract (for sweet and sour flavor)
- 2 Tbsp minced ginger (for aroma)
- 4 Tbsp minced garlic (for rich flavor)
- 4 Tbsp salted shrimp (minced, for texture and umami)
- 2 Tbsp toasted sesame seeds (for nutty aroma)
Cooking Instructions
Step 1
First, prepare 1kg of fresh garlic chives. Trim off any tough root ends and wash them thoroughly under running water several times to remove any dirt or soil. Make sure to drain them well; excess water can make the kimchi mushy.

Step 2
After washing the garlic chives, shake off as much water as possible. Then, cut them into about 2 or 3 equal lengths, making them easy to handle and season. Cutting them to a manageable size ensures the seasoning coats them evenly and makes them easier to eat.

Step 3
In a large mixing bowl, add 20 tablespoons of gochugaru (Korean chili flakes). This is the base for your kimchi’s flavor and color. Using finely ground gochugaru will help it dissolve better and create a more vibrant hue.

Step 4
Add 20 tablespoons of anchovy sauce to bring out the savory, umami flavor of the kimchi. You can substitute with sand lance sauce if preferred, but anchovy sauce often lends a deeper taste.

Step 5
For a touch of sweetness, add 2 tablespoons of sugar. Then, incorporate 4 tablespoons of plum extract for a delightful sweet and sour balance and added complexity.

Step 6
Add 2 tablespoons of minced ginger for a fragrant aroma, 4 tablespoons of minced garlic for a robust flavor, and 4 tablespoons of finely minced salted shrimp for a chewy texture and an extra layer of umami. Mix these well.

Step 7
Using a spoon or your hands, thoroughly mix all the seasoning ingredients in the bowl until you achieve a thick, delicious kimchi paste. Ensure the ginger, garlic, and salted shrimp are evenly distributed and not clumped together.

Step 8
Now, take a handful of the prepared garlic chives and coat them with the seasoning paste. Start from the root end and work your way up to the tips. Gently spread the seasoning rather than vigorously mixing to avoid breaking the chives.

Step 9
Add 5 finely chopped Cheongyang peppers for a pleasant spicy kick (adjust to your preference). Finally, sprinkle in 2 tablespoons of toasted sesame seeds for a nutty aroma and gently mix everything together.

Step 10
Carefully pack the well-seasoned garlic chives kimchi into a kimchi container. Let it sit at room temperature for about a day to ferment slightly, then refrigerate. It will taste even better after this initial fermentation.

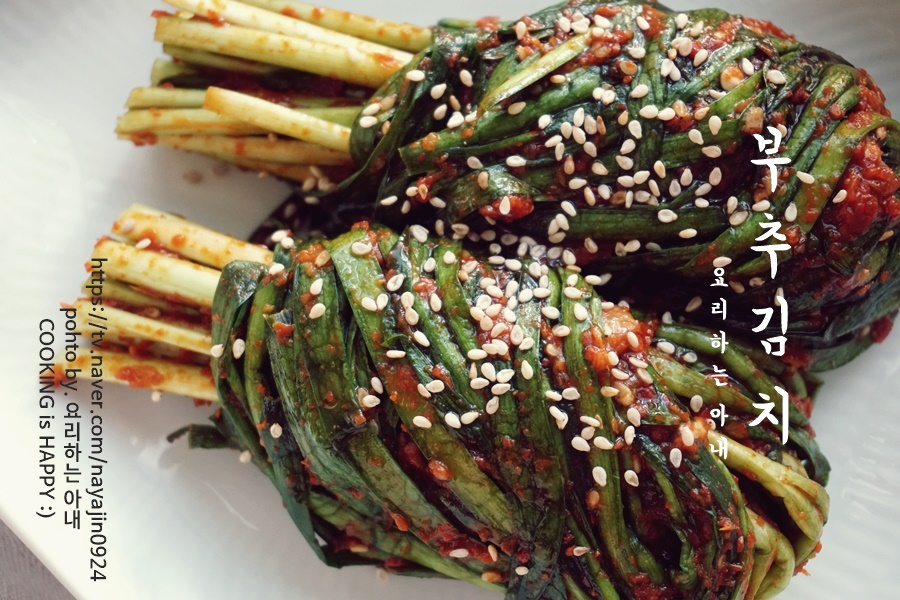
Step 11
Voila! Your delicious and mouth-watering garlic chives kimchi is ready. Serve it beautifully and enjoy! This homemade kimchi is perfect for brightening up any meal, especially during the summer.


