Sweet and Moist Homemade Banana Bread
[Easy Home Baking] How to Make Delicious Banana Bread

This is a recipe for homemade banana bread, bursting with the flavor of ripe bananas, resulting in a sweet and moist loaf. It’s a fantastic way to use overripe bananas and is sure to become a favorite treat for everyone. The aroma of freshly baked bread enhanced with a touch of butter makes for an even richer taste.
Banana Bread Dough Ingredients- 350g Bread Flour
- 2 Ripe Bananas (peeled)
- 35g Granulated Sugar
- 8g Instant Dry Yeast
- 6g Salt
- 1 Egg (room temperature)
- 40g Unsalted Butter (room temperature)
- 35g Milk (warmed slightly)
Cooking Instructions
Step 1
First, peel the bananas and prepare them.

Step 2
Using a ladle or a potato masher, mash the peeled bananas until very smooth and free of lumps. Aim for a consistency similar to baby food for the best texture.

Step 3
In a mixing bowl, add 350g of bread flour. Create three wells in the surface of the flour. Place 8g of instant dry yeast in one well, 35g of granulated sugar in another, and 6g of salt in the third. Gently coat each ingredient with a little flour to prevent direct contact between the yeast and salt.

Step 4
Crack 1 egg into the center well of the flour mixture.

Step 5
Now, pour in 35g of slightly warmed milk. Begin mixing the ingredients using a dough hook, spatula, or your hands until they start to come together. It might look separated initially.

Step 6
Once the dry and wet ingredients have formed a cohesive mass, add 40g of room-temperature unsalted butter, which should be soft to the touch. Knead the dough for about 10 minutes until it becomes smooth and elastic. Continue to fold, stretch, and push the dough until it’s no longer sticky.

Step 7
To check if the dough is ready, gently stretch a piece of it. If you can stretch it thin enough for light to pass through without tearing (the ‘windowpane’ test), your dough has developed sufficient gluten and is perfectly prepared.

Step 8
Shape the finished dough into a smooth ball and place it in a clean, lightly oiled bowl. Cover the bowl tightly with plastic wrap, and poke a few small holes in the wrap with a fork to allow for air circulation. Let the dough rise in a warm place (around 77-86°F or 25-30°C) for about 1 hour for its first proof.

Step 9
The first proof is complete when the dough has doubled or even tripled in size, reaching approximately 2.5 times its original volume. You can test this by gently poking the dough with a floured finger; if the indentation remains, it’s ready.

Step 10
Gently deflate the risen dough by pressing down on it. Divide the dough into two equal portions and shape each into a round ball. Cover them with plastic wrap or a damp cloth and let them rest for 20 minutes. This ‘bench rest’ allows the gluten to relax, making the dough easier to shape.

Step 11
After the 20-minute rest, the dough balls will have slightly increased in volume, puffing up by about 0.5 times their size.

Step 12
Roll out each dough ball into an elongated shape that fits the length of your loaf pan. Aim for an even thickness, avoiding making it too thin.

Step 13
Carefully roll up the flattened dough tightly from one end. Pinch the seam firmly to seal it shut, ensuring it won’t open during baking.

Step 14
Using a dough scraper or a knife, cut the rolled dough into slices approximately 1.5cm thick. Arrange these slices in your baking pan, leaving a little space between them as they will expand further during the second proof and baking.

Step 15
Place the sliced dough into your prepared baking pan. Shape them attractively, ensuring they have enough room to expand. Cover the pan and let it rise in a warm place for a second proof, this time for about 30 minutes, or until the dough has increased in size by about 1.5 to 2 times.

Step 16
Once the second proof is complete, bake the banana bread in a preheated oven at 180°C (350°F) for approximately 15 minutes, or until golden brown. Baking time may vary depending on your oven.

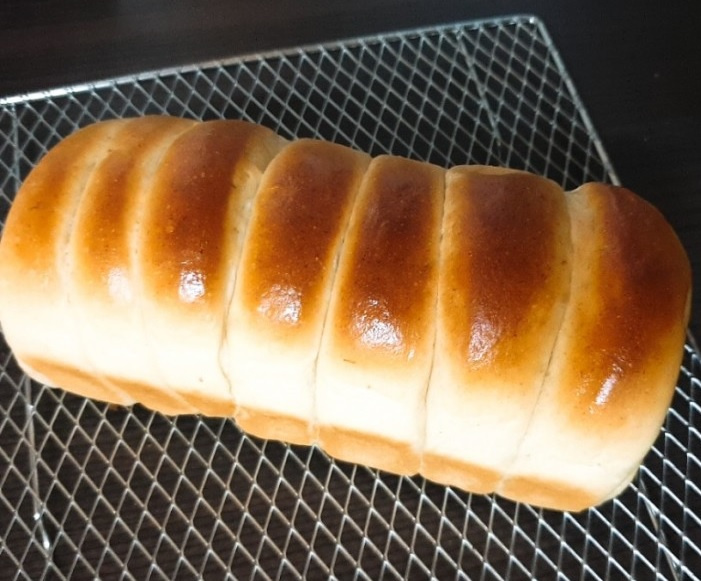
Step 17
After baking, remove the bread from the oven and let it cool slightly. While still warm, brush the top generously with room-temperature butter using a pastry brush. The melted butter will enhance the banana aroma and create a wonderfully moist and glossy finish. Enjoy your deliciously fluffy and fragrant banana bread!


