Tangy Tuna and Pickle Sandwich
How to Make a Delicious Tuna and Pickle Sandwich

Introducing the ‘Tuna and Pickle Sandwich’ – a simple yet satisfying meal perfect for busy mornings or anytime you need a quick bite. It’s also a wonderful addition to picnic baskets alongside kimbap, sure to delight both the eyes and taste buds! Learned from a hotel chef, this recipe offers a unique twist on modern sandwiches that appeals to everyone, from children to seniors. You’ll be surprised by how much they love it! Definitely give this a try.
Ingredients- 1 can Tuna (drained)
- 2 Hard-boiled eggs
- 1/2 Onion
- 1 can Corn (drained)
- 5 Dill pickles
- 100g Mayonnaise (approx. 6-7 Tbsp)
- 1 loaf Bread (10-12 slices)
- Pinch of black pepper
Cooking Instructions
Step 1
First, prepare all the ingredients for your sandwich. Wash the vegetables and ensure your eggs are hard-boiled.

Step 2
Drain the tuna thoroughly using a sieve to remove all the oil. Properly draining the tuna is key to preventing a soggy filling.

Step 3
Thinly slice the onion, then mince it finely. Squeeze out as much liquid as possible from the minced onion by hand; this will ensure a crisp texture and a clean flavor.

Step 4
Finely chop the dill pickles, just like the onion, and squeeze out their liquid as well. Adding plenty of pickles will give your sandwich a refreshing crunch and delightful tang.

Step 5
Peel the hard-boiled eggs and mash them, or chop them finely with a knife. You can leave them slightly chunky for added texture.

Step 6
Drain the canned corn completely using a sieve. The natural sweetness of the corn will add a lovely dimension to the sandwich.

Step 7
In a large bowl, combine the drained tuna, minced onion, chopped pickles, chopped hard-boiled eggs, and drained corn. Sprinkle with a pinch of pepper. Add the mayonnaise and gently mix everything together, being careful not to mash the ingredients too much. (Tip: Ottogi Gold Mayonnaise offers a richer, creamier flavor!)

Step 8
Use a spatula to evenly mix the ingredients with the mayonnaise until well combined. This creates your delicious sandwich filling. This quantity should be enough to generously spread on about 20 slices of bread. If you have any leftover filling, store it in an airtight container in the refrigerator for up to a week.

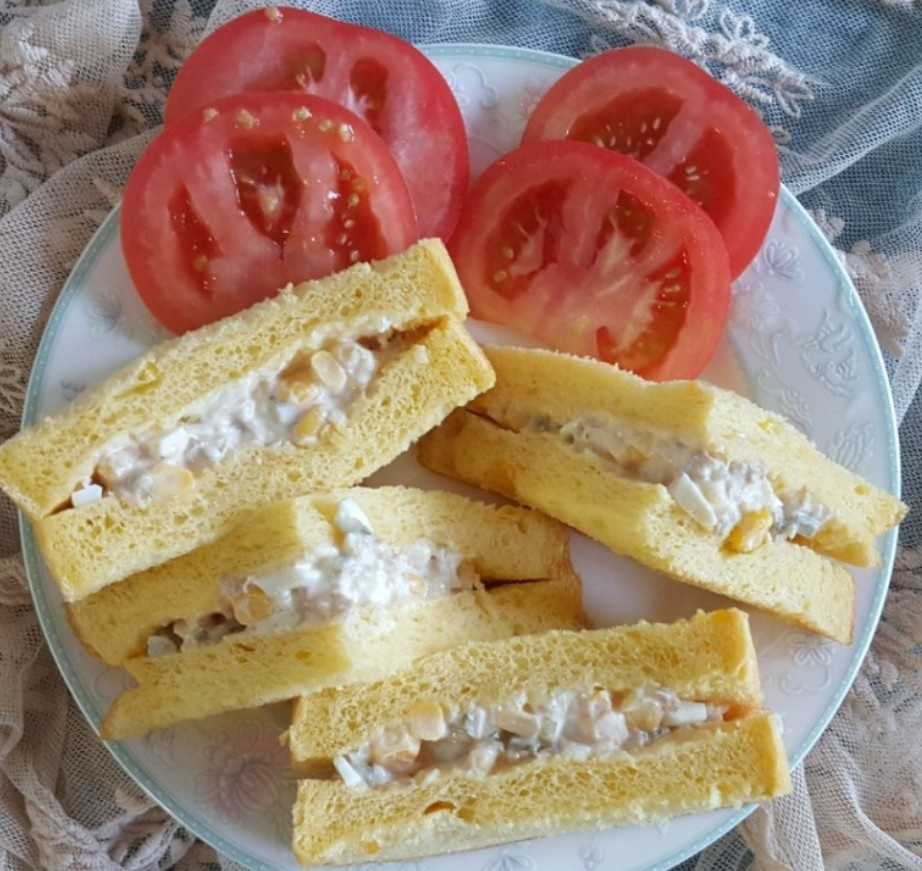
Step 9
Trim the crusts off the bread slices. Generously spread the prepared tuna filling onto one slice of bread, spreading it evenly. Top with another slice of bread and press down gently. Cut into your desired shapes for a nutritious and satisfying breakfast or snack!


