Tender and Delicious Steamed Shrimp
How to Steam Whiteleg Shrimp: A Delicious Steamed Shrimp Recipe Ready in 10 Minutes

Here’s a super simple steamed whiteleg shrimp recipe, perfect for special occasions or everyday enjoyment. Steaming fresh shrimp for just 10 minutes brings out their wonderfully tender texture and delicate flavor. It’s also great as a side dish for kids or as a snack with drinks!
Ingredients- Fresh Whiteleg Shrimp
Cooking Instructions
Step 1
Hello everyone! The weather has gotten so warm lately; it’s not even cold at night anymore. I love this kind of weather! My daughter, Sra, caught a cold and couldn’t go to school today. She’s lost her appetite and isn’t even eating her favorite meat, which worried me. Luckily, shrimp were on sale, so I bought some and steamed them for her, and surprisingly, she ate them well! They were on sale at Homeplus for 200 won each, so I grabbed them. While they weren’t the largest size, they seemed perfect for steaming. Two packs gave me about 40 shrimp, which should be plenty.

Step 2
I’m going to make delicious steamed shrimp right away. First, let’s prepare the shrimp. They look very fresh since I just bought them today! Rinse the shrimp several times under running water until clean. This helps remove any debris from the shells and maintains their freshness.

Step 3
If you plan to eat the shrimp heads, it’s a good idea to trim them. Carefully snip off the sharp tip on top of the head and trim the long antennae with scissors. If you’re serving this to children, steaming them with the shells on and then peeling the meat is a good option. Since my daughter only eats the shrimp meat, I’ll steam them with the shells on and then peel the meat for her. They were so fresh that I didn’t even remove the innards.

Step 4
Whiteleg shrimp can be prepared in various ways, like grilling or frying, but today I’m going for the simplest method that highlights the natural flavor of the shrimp: ‘steaming.’ To steam shrimp, you’ll need a steamer. If you don’t have one, you can place a colander over a pan with a little water and steam them that way. But since I have a steamer, I’ll use that. First, fill the steamer pot with plenty of water and bring it to a boil. Boiling water is key for quick and even cooking.

Step 5
Once the water starts boiling, carefully place the shrimp onto the steamer rack. If you have a lot of shrimp, you can layer them. They will still cook through evenly even if they overlap slightly. It’s best to leave a little space between them if possible.

Step 6
Alright, the water is boiling vigorously now, isn’t it? Place the steamer basket over the pot and make sure to close the lid tightly. The steaming time for shrimp is just 10 minutes after the water begins to boil! After 10 minutes, when you open the lid, if the shrimp have turned a vibrant red color, they are perfectly cooked.

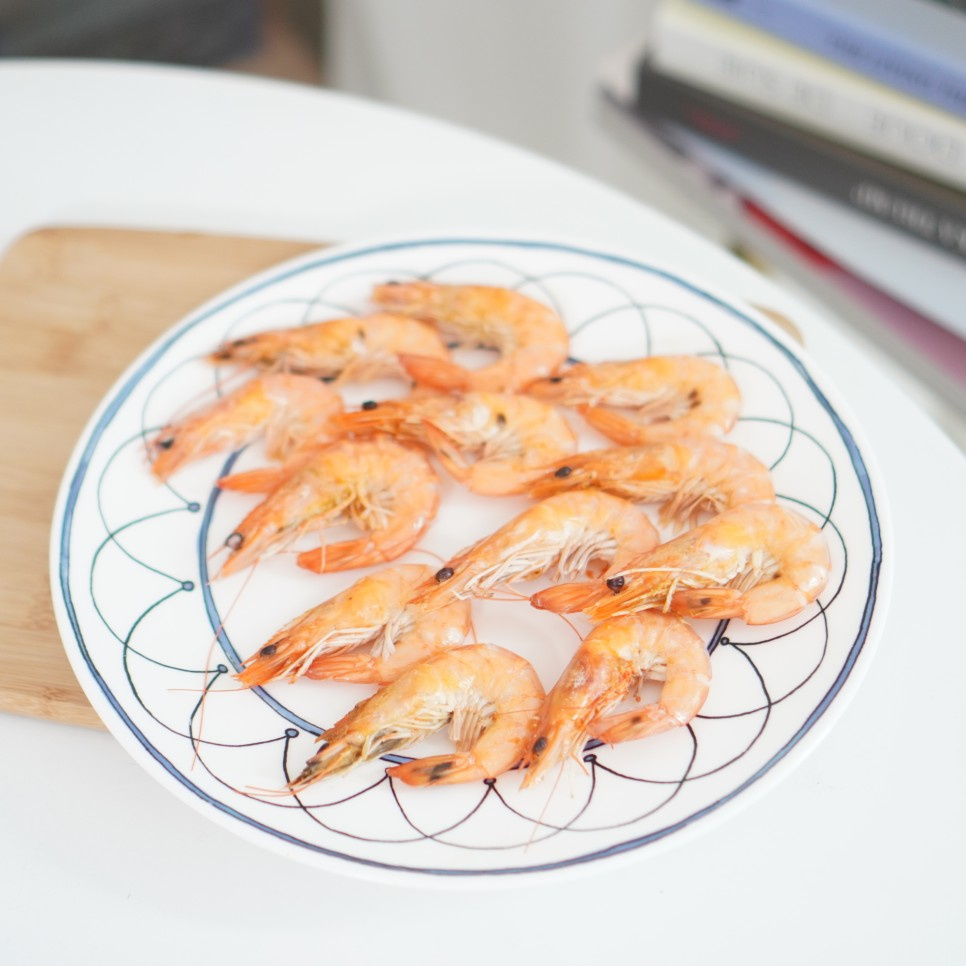
Step 7
See how the entire shrimp have turned this appetizing red color? Shrimp can become tough if overcooked, so 10 minutes is usually sufficient. This duration ensures a wonderfully tender and succulent texture.

Step 8
Now, simply peel the hot, freshly steamed shrimp and enjoy the succulent meat! They are delicious on their own, with the natural sweetness and savory flavor of the shrimp. But for an extra kick, dipping them lightly in a sweet and tangy ‘chojang’ (Korean chili paste sauce) is highly recommended. The chewy, plump shrimp meat is truly exquisite!

Step 9
I love that making steamed shrimp doesn’t take much time and is incredibly simple. This method ensures a deliciously steamed result! Since the sale doesn’t seem to be over yet, I think I’ll buy more to make another batch of these tasty steamed shrimp for the family. I highly recommend you try making them too!


