Timeless & Savory Homemade Pretzels
Crafting Beautifully Browned Homemade Pretzels: A Step-by-Step Recipe

Indulge in the delightful savory and mild flavor of homemade pretzels! This recipe is designed to be accessible and enjoyable for everyone, regardless of baking experience. Follow along to create these wonderfully textured treats right in your own kitchen.
Pretzel Dough Ingredients- 200g bread flour (high-gluten flour)
- 20g unsalted butter, cold and cut into small cubes
- 115g warm water
- 5g sugar
- 3g salt
- 3g instant dry yeast
Cooking Instructions
Step 1
Begin by sifting the 200g of bread flour two to three times. This ensures a finer texture and helps the ingredients incorporate smoothly into the dough.

Step 2
Create three small, shallow wells in the sifted flour using your fingers. Imagine making little depressions for ingredients.

Step 3
In each well, place 5g of sugar, 3g of salt, and 3g of instant dry yeast respectively. It’s crucial that these ingredients do not directly touch each other at this stage, as direct contact, especially between yeast and salt, can hinder the yeast’s activation.

Step 4
Gently mix the flour around each ingredient, being careful not to let them commingle. Focus on just incorporating the flour around each specific ingredient without combining everything yet.

Step 5
Once each ingredient is settled in its space, carefully bring all the flour together and lightly mix everything. This step ensures the ingredients are distributed throughout the flour base.

Step 6
Pour in the 115g of warm water all at once. Use a spatula or your hands to mix until a cohesive dough forms and no dry flour remains. It might seem sticky initially, but keep mixing until it comes together into a dough ball.

Step 7
Once the dough starts to come together, add the 20g of cold, cubed unsalted butter. Cold butter is key to achieving a chewy texture as it incorporates gradually into the dough.

Step 8
Now, it’s time to knead the dough. Work the dough by hand for about 5 to 10 minutes, or until the butter is fully incorporated and the dough becomes smooth, elastic, and no longer excessively sticky. Kneading involves pushing the dough away with your palm, then folding it back. You’ll know it’s ready when it’s smooth and stretches well without tearing easily.

Step 9
Shape the kneaded dough into a ball, place it in a lightly oiled bowl, and cover it with plastic wrap. Let it rise in a warm place for about 1 hour and 15 minutes, or until it has doubled in size. This is the first proofing stage.

Step 10
After 1 hour and 15 minutes, check if the dough has risen properly. Gently poke the dough with a floured finger. If the indentation remains without springing back immediately, the dough is perfectly proofed. If it bounces back quickly, it may need a little more time.

Step 11
Turn the proofed dough out onto a lightly floured surface and gently deflate it by pressing down. Divide the dough into 6 equal portions. Consistent portion sizes will ensure even baking.

Step 12
Shape each portion into a smooth ball. Cover the dough balls with plastic wrap or a damp kitchen towel and let them rest for about 15 minutes. This intermediate proofing makes the dough more pliable and easier to shape.

Step 13
Take each dough ball and flatten it using a rolling pin into a long, relatively thin strip. Aim for a thickness of about 0.5 cm (approximately 0.2 inches).

Step 14
Starting from one end, tightly roll up the flattened dough to form a long strand. Pinch the seam firmly to seal it. A good seal is essential to prevent the pretzel from unraveling during boiling and baking.

Step 15
Gently curve the rolled dough into a U-shape. Then, take the two ends and cross them over each other, pressing them firmly onto the bottom curve of the U. This creates the classic pretzel knot. Ensure the ends are well-attached to the dough.

Step 16
Prepare for boiling: In a large pot, bring 500ml of water to a boil. Carefully add 50g of baking soda to the boiling water (it will foam up significantly). Reduce the heat to medium-low and carefully place the shaped pretzels into the simmering water. Boil each side for about 30 seconds, or 1 minute total per pretzel, turning them gently to ensure they are fully submerged. This step is crucial for achieving the pretzel’s signature color and chewy texture.

Step 17
Remove the boiled pretzels from the water and place them on a baking sheet lined with parchment paper. Using a sharp knife, make 2-3 deep slashes on the top surface of each pretzel. This helps them expand beautifully as they bake.

Step 18
Sprinkle the coarse pink salt generously over the slashed pretzels, according to your preference. The salt adds a wonderful savory contrast to the mild dough.

Step 19
Bake in a preheated oven at 180°C (350°F) for approximately 18 minutes, or until they are a deep golden brown and sound hollow when tapped. Oven temperatures may vary, so adjust as needed.

Step 20
Once baked to perfection, remove the pretzels from the oven and transfer them to a wire rack. Allow them to cool slightly before enjoying. They will be crispier when cooled a bit.

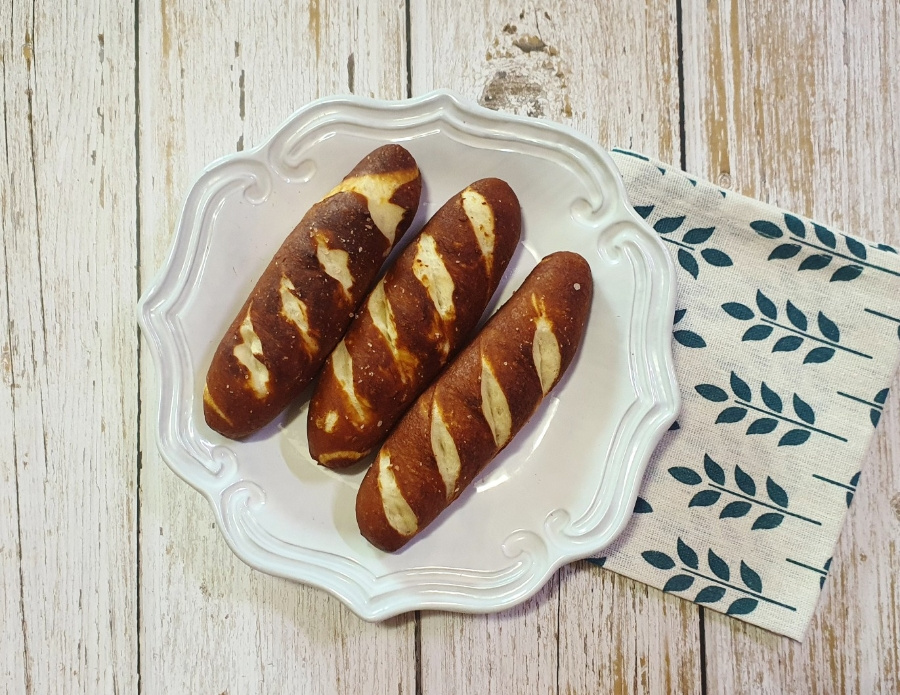
Step 21
Voilà! Your beautiful, homemade pretzels with their rich color and perfect shape are ready. Enjoy these delightful treats with a warm beverage. Baking these at home brings a special touch to any occasion!


