Tiramisu Chiffon Cake
[The Quintessential Dessert] Volcano Tiramisu Chiffon Cake with Artful Flowing Cheese!!

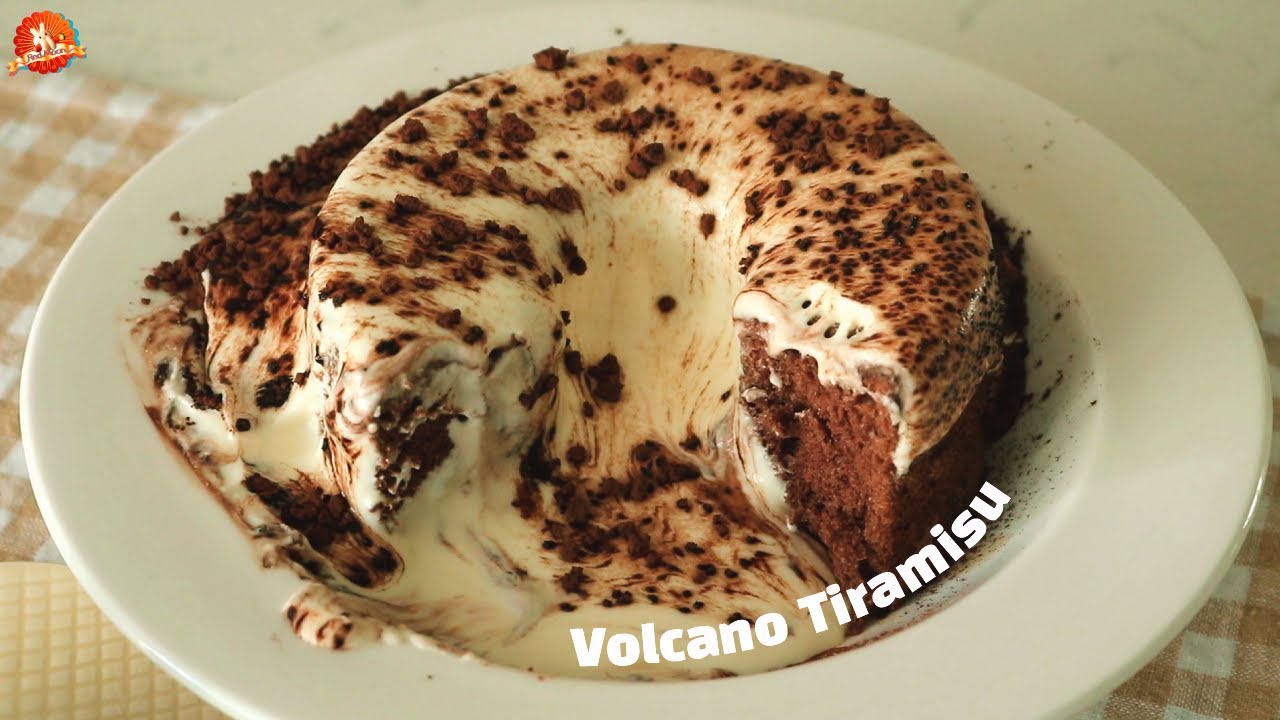
Introducing the Volcano Tiramisu Chiffon Cake, where the cascading cheese creates a spectacular visual effect reminiscent of lava flow. This cake is made with a chiffon base for an extra soft and delightful texture. We’ve included detailed instructions and tips to help you create a moist and delicious cake with ease.
Chiffon Cake Batter- 32g egg yolks
- 37g sugar A
- 1g salt
- 2g vanilla extract
- 25g vegetable oil
- 18g water
- 62g cake flour
- 2g baking powder
- 8g Valrhona cocoa powder
- 62g egg whites
- 37g sugar B
Cheese Cream- 200g cream cheese (room temperature)
- 180g heavy cream (cold)
- 120g sugar
- 10g lemon juice
Coffee Syrup- 2 tsp instant coffee
- 2 tsp sugar
- 4 tsp hot water
Garnish- Valrhona cocoa powder, as needed
- 200g cream cheese (room temperature)
- 180g heavy cream (cold)
- 120g sugar
- 10g lemon juice
Coffee Syrup- 2 tsp instant coffee
- 2 tsp sugar
- 4 tsp hot water
Garnish- Valrhona cocoa powder, as needed
- Valrhona cocoa powder, as needed
Cooking Instructions
Step 1
[Making the Chiffon Cake] Lightly mist the inside of your chiffon pan with water. This helps prevent the cake from drying out and ensures a clean release. Keep the pan inverted and dry. 
Step 2
In a large bowl, combine the egg yolks with Sugar A, salt, and vanilla extract.

Step 3
Using a hand mixer or whisk, beat the yolk mixture until it becomes an ivory color. It’s important to whip it until it reaches a slightly thickened consistency.

Step 4
Add the water and vegetable oil, then gently mix. Incorporate them gradually, as if emulsifying, to prevent separation.

Step 5
Sift the cake flour, baking powder, and Valrhona cocoa powder into the batter. Sifting helps prevent lumps and results in a smoother cake. Use a whisk to combine until no dry streaks remain.

Step 6
In a separate, clean bowl, whip the egg whites. Once they start to foam slightly, gradually add Sugar B in three additions, whipping to create a firm meringue. Adding all the sugar at once can hinder meringue formation.

Step 7
Whip the meringue to about 80% stiffness – it should hold soft peaks that curl slightly when the bowl is inverted.

Step 8
Add half of the meringue to the yolk mixture and gently fold it in using a spatula. Continue adding the remaining meringue in portions, folding gently from the bottom up to preserve the airiness.

Step 9
The batter is ready when it flows like a thick ribbon from the spatula without breaking, showing a glossy sheen. Check for a texture similar to the photo.

Step 10
Pour the batter into the chiffon pan. Tap the pan lightly on the counter 2-3 times to release large air bubbles. Then, use a chopstick to swirl through the batter to even out the remaining air pockets, ensuring a smooth top surface.

Step 11
Bake in a preheated oven at 175°C (350°F) for about 25 minutes. A skewer inserted into the center should come out clean.

Step 12
Immediately after removing from the oven, invert the chiffon pan to cool. Because chiffon cake is so delicate, cooling it upside down prevents it from collapsing or sinking. This uses gravity to maintain its structure.

Step 13
*How to Release the Chiffon Cake from the Pan* Gently hold the sides of the pan and apply slight pressure with your hands, pushing down bit by bit. The chiffon’s elasticity allows it to spring back. Proceed gently at first.

Step 14
Carefully detach the outer ring of the pan by hand. You can use a thin spatula or knife if needed.

Step 15
Gently press the top and sides of the cake to release the bottom part of the pan as well. Work softly to avoid damaging the cake.

Step 16
There you go! The chiffon cake is now cleanly separated.

Step 17
Using a serrated knife, carefully trim away the thin bottom layer (the base of the chiffon sheet). Trim just enough to achieve a neat cut.

Step 18
[Making the Cheese Cream] In a bowl, soften the room-temperature cream cheese until smooth. Add the sugar and whip until the sugar is completely dissolved. 
Step 19
In another bowl, whip the cold heavy cream to about 30% consistency. Avoid over-whipping; it should remain soft.

Step 20
Gently fold the whipped cream into the softened cream cheese. Add the lemon juice for a touch of freshness. Mix until everything is evenly combined.

Step 21
[Making the Coffee Syrup] Dissolve the instant coffee and sugar in hot water. Let the syrup cool slightly before use. 
Step 22
Place the chiffon cake into a serving dish with a slight depression. Brush the cake surface evenly with the cooled coffee syrup using a pastry brush or knife. This adds moisture.

Step 23
Wrap a cake collar (mousse ring) around the chiffon cake. Then, generously fill the collar with the prepared cheese cream, covering the chiffon cake completely.

Step 24
Dust the top generously with Valrhona cocoa powder for decoration. Using a sieve will help create an even layer.

Step 25
Carefully remove the cake collar. Admire the dramatic cascade of cheese cream flowing down!

Step 26
Doesn’t it look like an erupting volcano?

Step 27
Your stunning Volcano Tiramisu Chiffon Cake is complete!

Step 28
….★

Step 29
This cake offers a delightful combination of melt-in-your-mouth softness, sweetness, and the gentle bitterness of coffee.

Step 30
Chill it in the refrigerator before serving for an enhanced flavor and refreshing experience. Enjoy your delicious cake!★


