Vanilla Canelé: The Epitome of Crispy Outside, Custardy Inside French Dessert
Homemade Canelé Recipe Infused with Fragrant Vanilla

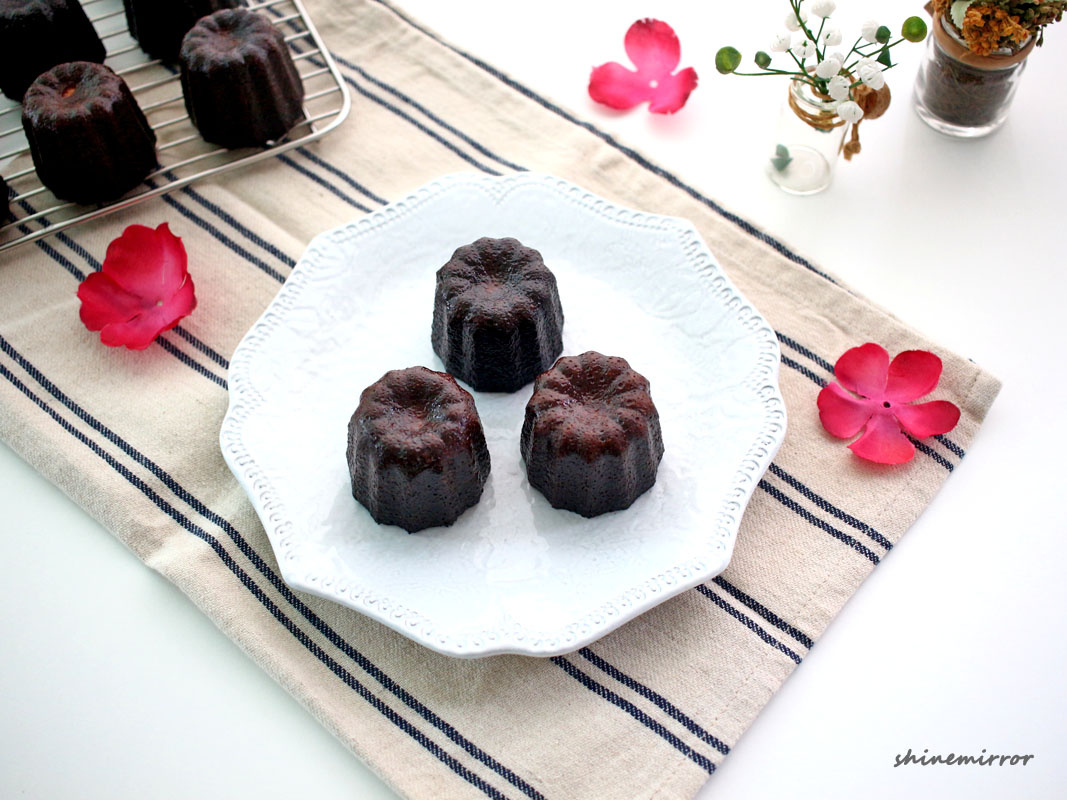
I recently purchased a canelé mold and decided to try making vanilla canelés for the first time! Canelés are beloved French pastries, celebrated for their contrasting textures: a deeply caramelized, crisp exterior and a soft, custardy interior. However, many find them challenging to bake at home due to their delicate cooking process. This recipe aims to capture that signature texture while providing clear, detailed steps and tips to make it achievable even for beginners. The freshly baked canelés, cooled slightly, were absolutely delicious! If you’ve been wanting to achieve that perfect crispy-on-the-outside, custardy-on-the-inside texture at home, this recipe is for you. Don’t worry if it’s your first time – we’ll guide you through creating these exquisite vanilla canelés with their rich aroma, wonderfully crisp caramelised crust, and tender, almost pudding-like center. This recipe will empower you to create impressive French desserts right in your own kitchen.
Canelé Batter Ingredients- 400g Milk
- 21g Butter, at room temperature
- 1 Vanilla bean (seeds scraped, pod included)
- 48g Eggs (about 1 large egg)
- 48g Egg yolks (about 2 yolks)
- 200g Granulated Sugar
- 107g Cake Flour (low-protein flour)
- 33g Gold Rum
- Butter, softened, for greasing molds
Cooking Instructions
Step 1
In a saucepan, combine the milk, room temperature butter, and the scraped vanilla bean seeds along with the pod. Place over low heat and stir gently until the butter is fully melted. This helps infuse the milk with vanilla flavor.

Step 2
Gently heat the milk mixture until the edges just begin to simmer (around 80°C or 175°F if using a thermometer). Remove from heat, cover, and let it steep for about 5 minutes. This allows the vanilla flavor to fully infuse into the milk.

Step 3
While the milk mixture is steeping, whisk the eggs and egg yolks together in a separate bowl. Add the sugar and whisk gently, being careful not to incorporate too much air. Whisk just enough to dissolve the sugar. Over-whisking can lead to excess bubbles, which can affect the smooth surface of the canelé.

Step 4
Slowly pour half of the cooled milk mixture into the egg mixture. Gently whisk to combine the ingredients smoothly, avoiding vigorous stirring.

Step 5
Sift the cake flour over the egg-milk mixture. Use a whisk to gently combine until no dry flour streaks remain. It’s crucial not to overmix at this stage. Overworking the batter can develop gluten, which can cause the canelés to puff up excessively in the oven. Mix just enough to incorporate the flour smoothly.

Step 6
Add the remaining half of the milk mixture and stir gently to combine.

Step 7
Finally, add the gold rum and stir gently to incorporate it into the batter.

Step 8
The batter will likely appear slightly lumpy or uneven due to the high moisture content. This is normal. Strain the batter through a fine-mesh sieve to achieve a smooth consistency. The vanilla pod will be removed during this process. Keeping the pod in until this stage allows for maximum flavor extraction.

Step 9
Cover the bowl with plastic wrap and refrigerate for at least 12 to 24 hours for the batter to rest and mature. This resting period is crucial for developing the texture and flavor of the canelés. It allows the ingredients to meld and any developed gluten to relax, ensuring a tender interior. Skipping this step can result in overly puffy canelés, a less developed flavor, or an uneven crumb. After resting, you might notice a layer of solidified butter on top; don’t worry, simply stir it back into the batter with a spatula until well combined before using.

Step 10
Now it’s time to bake! Traditionally, canelés are baked in copper molds coated with beeswax, which contributes to their distinctive crust. However, beeswax can be hard to find, and coating the molds can be time-consuming. For convenience, we’ll use standard non-stick canelé molds. If you have access to copper molds and beeswax, you can certainly use them for a more authentic approach. For non-stick molds, thoroughly grease each cavity with softened butter. This ensures the canelés release easily after baking.

Step 11
Fill each greased mold with the rested batter, filling them about 80% full. Be careful not to overfill, as the batter will expand during baking.

Step 12
Preheat your oven to 250°C (480°F) for 30 minutes, then reduce the temperature to 220°C (430°F) and bake for 20 minutes. After this initial bake, carefully remove the mold from the oven and gently tap it on the counter a few times. This helps the batter settle and promotes even browning. Then, lower the oven temperature to 200°C (400°F) and continue baking for another 25 to 30 minutes, or until the canelés are a deep, rich caramel brown. Once baked, carefully unmold them and let them cool completely on a wire rack. Perfectly baked canelés are best enjoyed within a day, while their crust is at its crispiest. They can become softer as they absorb moisture over time. To preserve their quality for longer, cool them completely, then seal them in an airtight container and freeze. To reheat, thaw at room temperature or microwave for 10-20 seconds for a delightful treat.


