White Chocolate Marble Meringue Cookies
Creating Beautiful Meringue Cookies with Chocolate and Food Coloring

These meringue cookies are crispy on the outside with delightful chunks of sweet white chocolate inside. A touch of food coloring creates a subtle marble effect, making them visually appealing and a special treat. They’re perfect for storing in a container and enjoying one by one, or as a delightful snack for children. With simple ingredients, anyone can easily make them – give it a try!
Ingredients- 1 Egg White
- 60g Sugar
- 15g Water
- 20 White Chocolate Chunks
- A little Food Coloring (optional)
Cooking Instructions
Step 1
First, carefully separate the egg white from the yolk. Ensure no yolk contaminates the white. Place the separated egg white in a bowl.

Step 2
In a small saucepan, combine 60g of sugar and 15g of water. Stir lightly with a spatula until the sugar is evenly moistened by the water.

Step 3
Place the saucepan with the sugar and water mixture over medium heat and bring it to a boil. Watch until the sugar dissolves and the syrup begins to bubble.

Step 4
While the syrup is boiling, start whipping the separated egg whites using a hand mixer or a whisk. Begin at a lower speed until foamy, then gradually increase the speed to create stiff peaks.

Step 5
When the syrup surface shows small, numerous bubbles and starts to boil consistently, it’s ready to be used immediately. The syrup should reach a temperature of approximately 118-120°C (245-248°F).

Step 6
Once the syrup is boiling, increase the hand mixer speed to medium. Slowly drizzle the hot syrup in a thin stream into the bowl of egg whites. Continue whipping without stopping the mixer. Be careful as the hot syrup can splatter!

Step 7
After all the syrup has been added, increase the hand mixer speed to high and whip for about 5-7 minutes. Continue until the meringue is thick, glossy, and holds stiff peaks.

Step 8
The meringue is ready when it’s firm, doesn’t fall from the bowl when inverted, and the tip of the whisk forms a slightly curved peak. Finally, reduce the mixer speed to low and whip for 1 more minute to stabilize the meringue bubbles, resulting in a smoother texture.

Step 9
Fit a piping bag with your desired tip. Lightly brush the inside wall of the piping bag with food coloring using a small brush or a cotton swab. Be careful not to use too much, as it can cause the color to bleed excessively.

Step 10
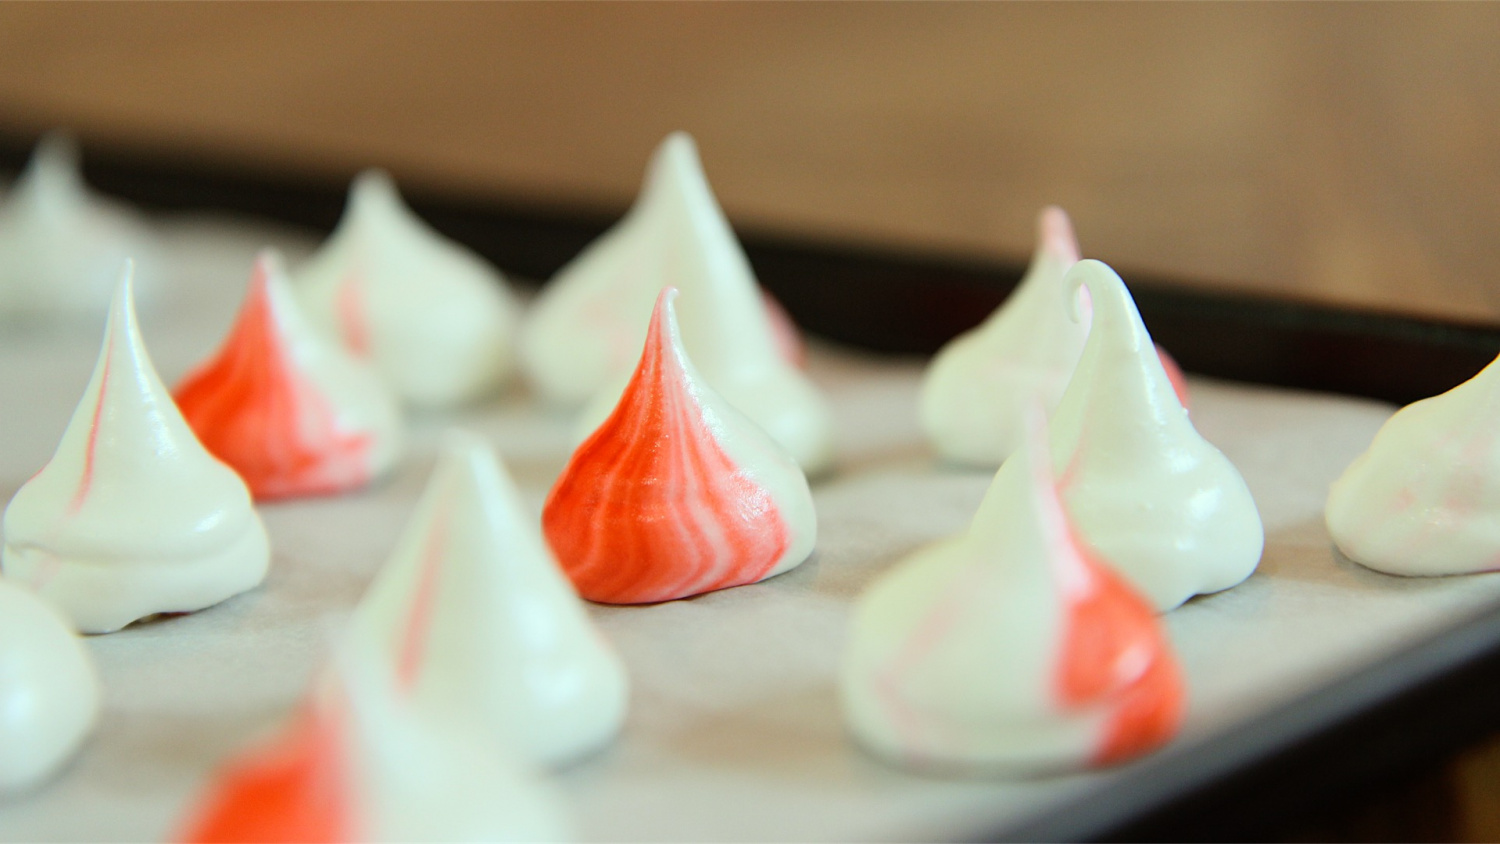
Fill the prepared piping bag with the meringue. Because the coloring is on the inside, squeezing the meringue will naturally create a beautiful marble pattern on one side.

Step 11
Line a baking sheet with parchment paper or a silicone baking mat. Place the white chocolate chunks on the prepared sheet, spacing them apart. These chocolate pieces will add a sweet surprise inside the meringue cookies.

Step 12
Pipe the meringue over the chocolate chunks. You can pipe them in any shape you like. Piping them generously will make them look even more appealing after baking.

Step 13
Bake in an oven preheated to 80°C (175°F) for about 1 hour. The baking time and temperature may vary depending on your oven. It’s important to bake slowly until the meringues are completely dry and crisp. Preheating the oven is not necessary for this recipe.


