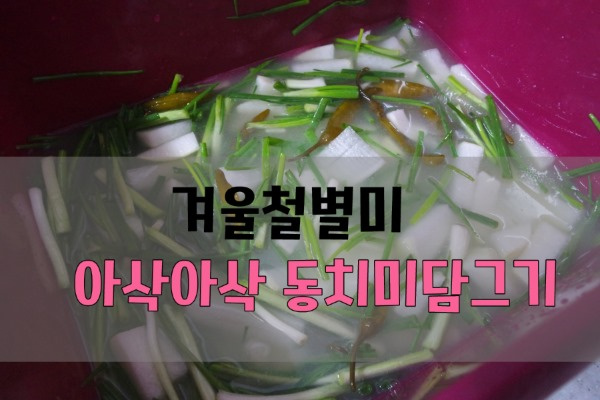
Winter Delicacy! Crispy Radish Kimchi (Dongchimi)
Learn the Golden Recipe for Deliciously Crunchy Winter Dongchimi!

Craving that refreshing, crisp winter radish kimchi (Dongchimi)? This is my first attempt, and I’m excited to share it with you! Inspired by the idea of making what I crave, I decided to try it myself. Let’s make some delicious Dongchimi together!
Dongchimi Ingredients- 2 Korean radishes (Mu)
- 1 Tbsp coarse sea salt (for brining radish)
- 1/2 pear
- 1/2 onion
- 3 cloves garlic
- 1 small piece ginger (approx. 2cm)
- Pickled chili peppers (to taste)
- 1 bunch scallions (green parts)
- 1 cup glutinous rice paste (optional, for faster fermentation)
- 6-8 cups water
- 2-3 tsp coarse sea salt (for broth seasoning)
- 1 Tbsp plum extract (Maesil Cheong)
Cooking Instructions
Step 1
First, prepare the main ingredient: Korean radish (Mu). Wash the radishes thoroughly, removing only any excess dirt. Cut them into approximately 6cm lengths, then slice them into pieces about the thickness of your finger. Place the cut radish pieces into your kimchi container or a prepared vessel. Sprinkle 1 tablespoon of coarse sea salt evenly over the radish and let it brine for 30 minutes. This process draws out moisture, making the radish extra crispy.

Step 2
Now, let’s make the Dongchimi broth. In a blender, combine 1/2 pear, 1/2 onion, 3 cloves garlic, and 1 small piece of ginger. Add 1-2 cups of water and blend until smooth. If you prefer a sweeter taste, feel free to add half an apple while blending. After blending, strain the mixture through a fine-mesh sieve to extract only the clear juice, which will form the base of your broth. Don’t worry too much about the exact water amount here, as you’ll adjust the total liquid later.

Step 3
Pour the blended fruit and vegetable mixture into a cheesecloth or a fine-mesh bag and squeeze out the juice. This step ensures a clear and refined broth. If you aim for a perfectly clear liquid, be sure to perform this squeezing process diligently.

Step 4
To the container with the brined radish, add the glutinous rice paste and pickled chili peppers. The glutinous rice paste helps the Dongchimi ferment faster, but it’s okay to omit if you don’t have it. The pickled chilies add a unique spicy and aromatic flavor to the Dongchimi. Adjust the quantity according to your preference.

Step 5
Next, add a generous amount of the green parts of scallions. Scallions contribute a refreshing taste and enhance the visual appeal of the Dongchimi. After adding the scallions, dissolve 2 tablespoons of coarse sea salt in 6 cups of water. Pour this saltwater evenly over the ingredients in the container. It’s best to taste the brine and adjust the saltiness as needed.

Step 6
Ensure the broth covers the ingredients adequately. Finally, add 1 tablespoon of plum extract for a subtle sweetness and adjust the overall seasoning with salt if necessary. It’s crucial to get the balance right – not too sweet, not too salty. Let the Dongchimi sit at room temperature for about a day, then refrigerate it. It will be ready to enjoy in about 2 weeks, offering a perfectly cool and delicious taste.


