Winter Delight: Making Refreshing and Clear Dongchimi
Authentic Winter Dongchimi Made with Autumn Radishes

For my family who enjoys refreshing water kimchi until late autumn and craves the crisp taste of dongchimi in winter, here’s my mother-in-law’s secret recipe, meticulously recorded. It offers a delightful, crisp flavor with every bite.
Main Ingredients- 1 bunch of Dongchimi-specific Korean radish (small size)
- 1 handful of green onions
- 1 handful of crown daisy
- 2 small apples
- 2 cloves of ginger
- 20 cloves of garlic
Seasoning and Brine- 2-3 cups of coarse sea salt (for salting radish and brine)
- 8 Tbsp plum extract
- 1 tsp New Sugar (optional, for sweetness)
- 100ml soju (to prevent scum and enhance preservation)
- 1 Tbsp sugar
- 2-3 cups of coarse sea salt (for salting radish and brine)
- 8 Tbsp plum extract
- 1 tsp New Sugar (optional, for sweetness)
- 100ml soju (to prevent scum and enhance preservation)
- 1 Tbsp sugar
Cooking Instructions
Step 1
First, let’s prepare the star of our dongchimi: the small, firm Korean radish specifically for dongchimi. We’ll also prepare green onions and crown daisy, using about a handful of each. (You can add fermented chili peppers or pears if you like, but I’m skipping them this time as they tend to soften the kimchi quickly.)

Step 2
We have about 8 small Korean radishes. I plan to use the largest kimchi refrigerator container for this batch. Adjust the ingredient quantities based on your container size.

Step 3
Gently trim just the very ends of the washed radishes. It’s important not to peel them! While the radishes are still damp, gently roll them in coarse sea salt, then pack them snugly into the container. Use just enough salt to coat the surface for pickling; you don’t need to add extra salt on top.

Step 4
This salting method allows the radishes to fit perfectly at the bottom of the container. Ideally, you’d let them sit in a cool place for two days, turning them occasionally. However, due to time constraints, I’ll only leave them until tomorrow morning. We will use all the briny liquid released from the radishes.

Step 5
The next morning, we’ll prepare the secondary ingredients that add flavor. Cut the green onions in half with a quick snip.

Step 6
Similarly, cut the crown daisy in half. Toss the green onions and crown daisy with about 3 tablespoons of coarse sea salt and let them wilt for about 30 minutes. Make sure the salt is evenly distributed among the vegetables. We’ll be using the liquid released from these vegetables as well.

Step 7
Now, let’s prepare the fruits and aromatics that will add a refreshing taste to the dongchimi. I’m using Fuji apples, which are small but very sweet and delicious. Pears would also be great, but since I don’t have any, I’ll omit them. Remember, in the past, people made delicious dongchimi with just radish!

Step 8
Slice the prepared apples, garlic, and ginger into manageable pieces. You can use whole garlic cloves or slice them thinly.

Step 9
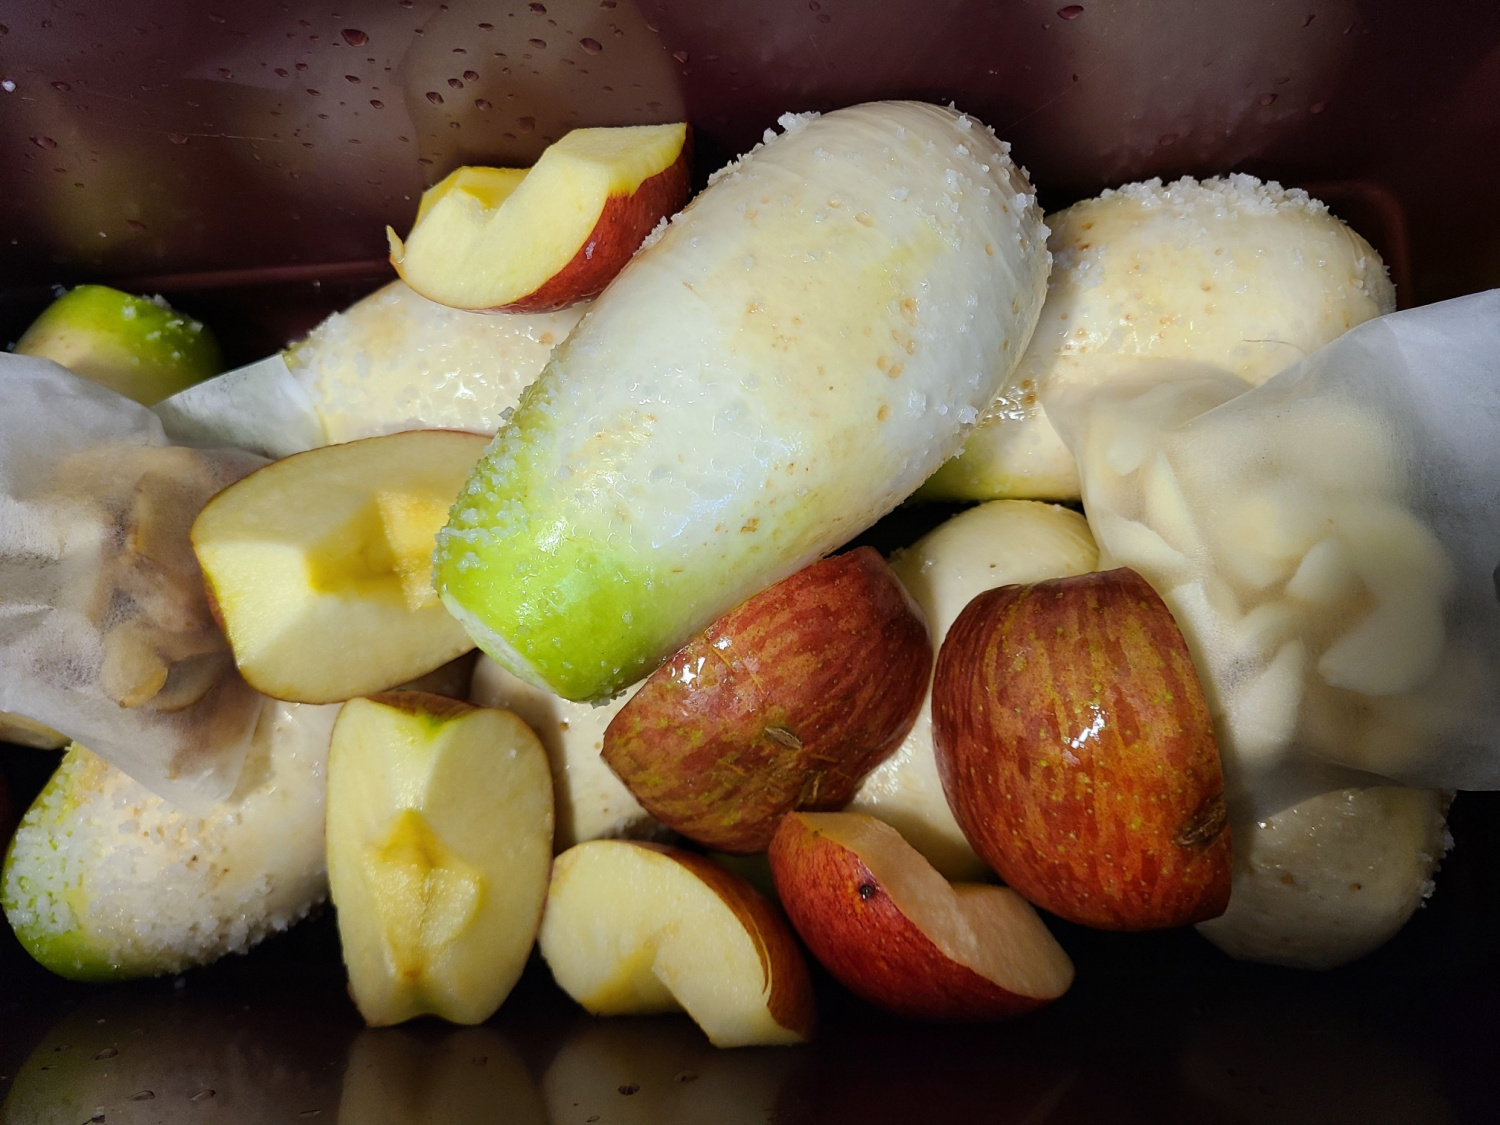
Normally, radishes should be salted for about two days, turning them occasionally. But I have a business trip tomorrow, so I’m making this ‘quick style’! After about 2 hours, the salt on the radishes had mostly dissolved. However, it’s best to salt the radishes for at least 4 hours. Then, place the sliced apples, garlic, and ginger into a spice bag and lay it on top of the lightly salted radishes.

Step 10
Next, add the wilted crown daisy and green onions on top. Don’t discard the liquid from these vegetables either; pour it all into the container. We’ll let everything sit like this for another 4 hours without rinsing.

Step 11
Prepare clean water for the dongchimi brine. Based on the size of the container used, I needed about 8 liters of water in total. The general guideline is 1 tablespoon of coarse sea salt per liter of water. It’s okay if the brine is a little salty initially; you can always add a bit more water just before serving if it’s too strong. (Don’t worry about the salt used for wilting the green onions and crown daisy when calculating the brine’s saltiness.)

Step 12
Add the seasonings for the brine: 1 teaspoon of New Sugar, 8 tablespoons of plum extract, and 1 tablespoon of sugar to enhance the sweetness and umami.

Step 13
Pour in the 8 liters of saltwater and 100ml of soju. The soju helps prevent a surface film from forming and keeps the dongchimi tasting fresh.

Step 14
Seal the container tightly and place it in a cool, shaded area, like a back veranda. My back veranda faces north and stays quite cool, so the dongchimi ferments slowly. It was perfectly fermented after about 3 weeks. The fermentation time can vary depending on your climate.

Step 15
I took out a piece of radish and some green onions and crown daisy from the well-fermented dongchimi, chopped them up, and tasted. It was exactly like the refreshing and clear dongchimi my mother used to make when I was little. I can’t forget this taste!


